Mastering Epic Cloning in Jira: A Comprehensive Guide
Have you ever found yourself drowning in the tedious task of cloning epics in Jira? What if I told you there's a way to transform that chore into a seamless process? With the right tools, you can save hours of time and focus on what truly matters. Let’s dive into the world of epic cloning and discover how to streamline your workflow with the Template (Epic) Cloner for Jira.
Why Clone Epics?
In project management, particularly in Agile methodologies, epics serve as large user stories that encapsulate various tasks or issues. However, as teams grow and projects expand, the complexity of managing these epics increases. Imagine having an epic with 50 linked issues. Every sprint, you need to replicate this structure—sounds daunting, right? Fortunately, cloning epics can simplify this process significantly.
Setting Up the Template Epic Cloner
Let’s break down the steps to get you started with the Template Epic Cloner plugin:
- Configuration:Once installed, you don’t need to configure anything. You can start using it right away. The plugin allows you to clone epics along with their linked tasks and subtasks easily.
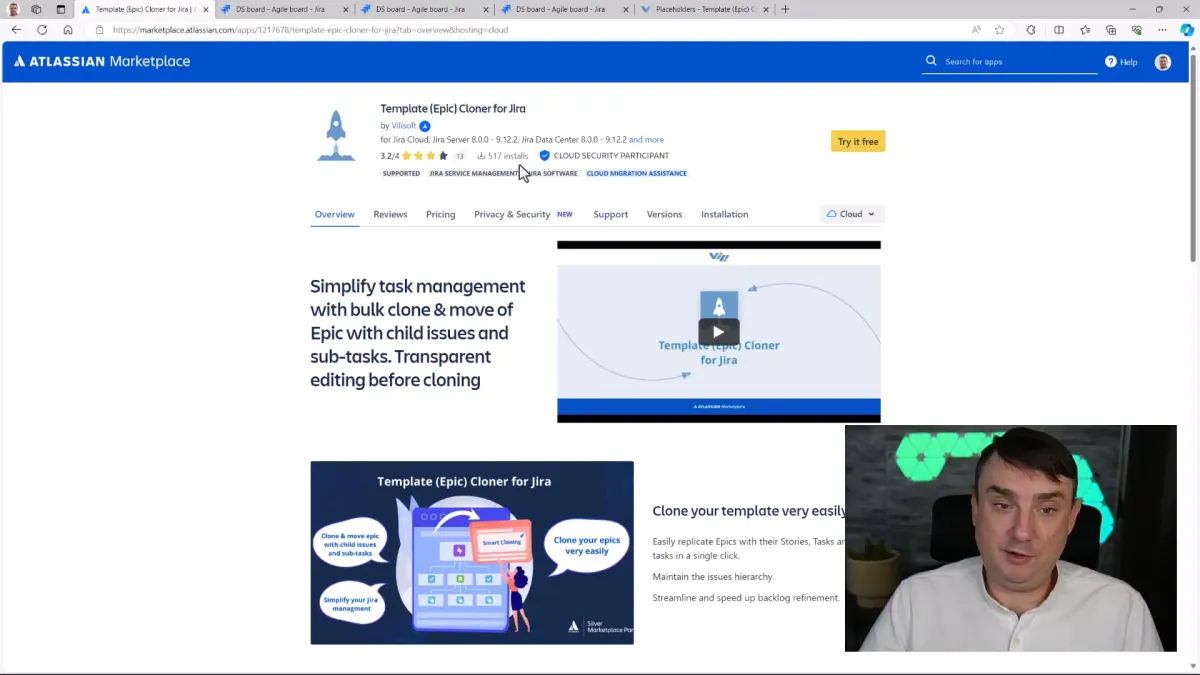
Installation:To install the plugin, navigate to the Atlassian Marketplace and search for "Template Epic Cloner for Jira." Click on the Try it free button. This plugin works for both Jira Cloud and Jira Data Center, though testing has mainly been conducted on Jira Cloud.

Cloning Epics: A Step-by-Step Guide
Now, let’s go through the actual cloning process:
- Select the Epic:Open the epic you wish to clone. Make sure it has linked issues.
- Choose Destination:Select the destination project for your cloned epic. You can change the epic’s name and set due dates as needed.
- Select Components:Decide whether to clone subtasks, comments, and links. Remember, subtasks are not included by default, so make sure to select them if needed.
- Clone Strategy:Choose how you want to handle linked issues. You can either link them to the existing project or clone them in the same project.
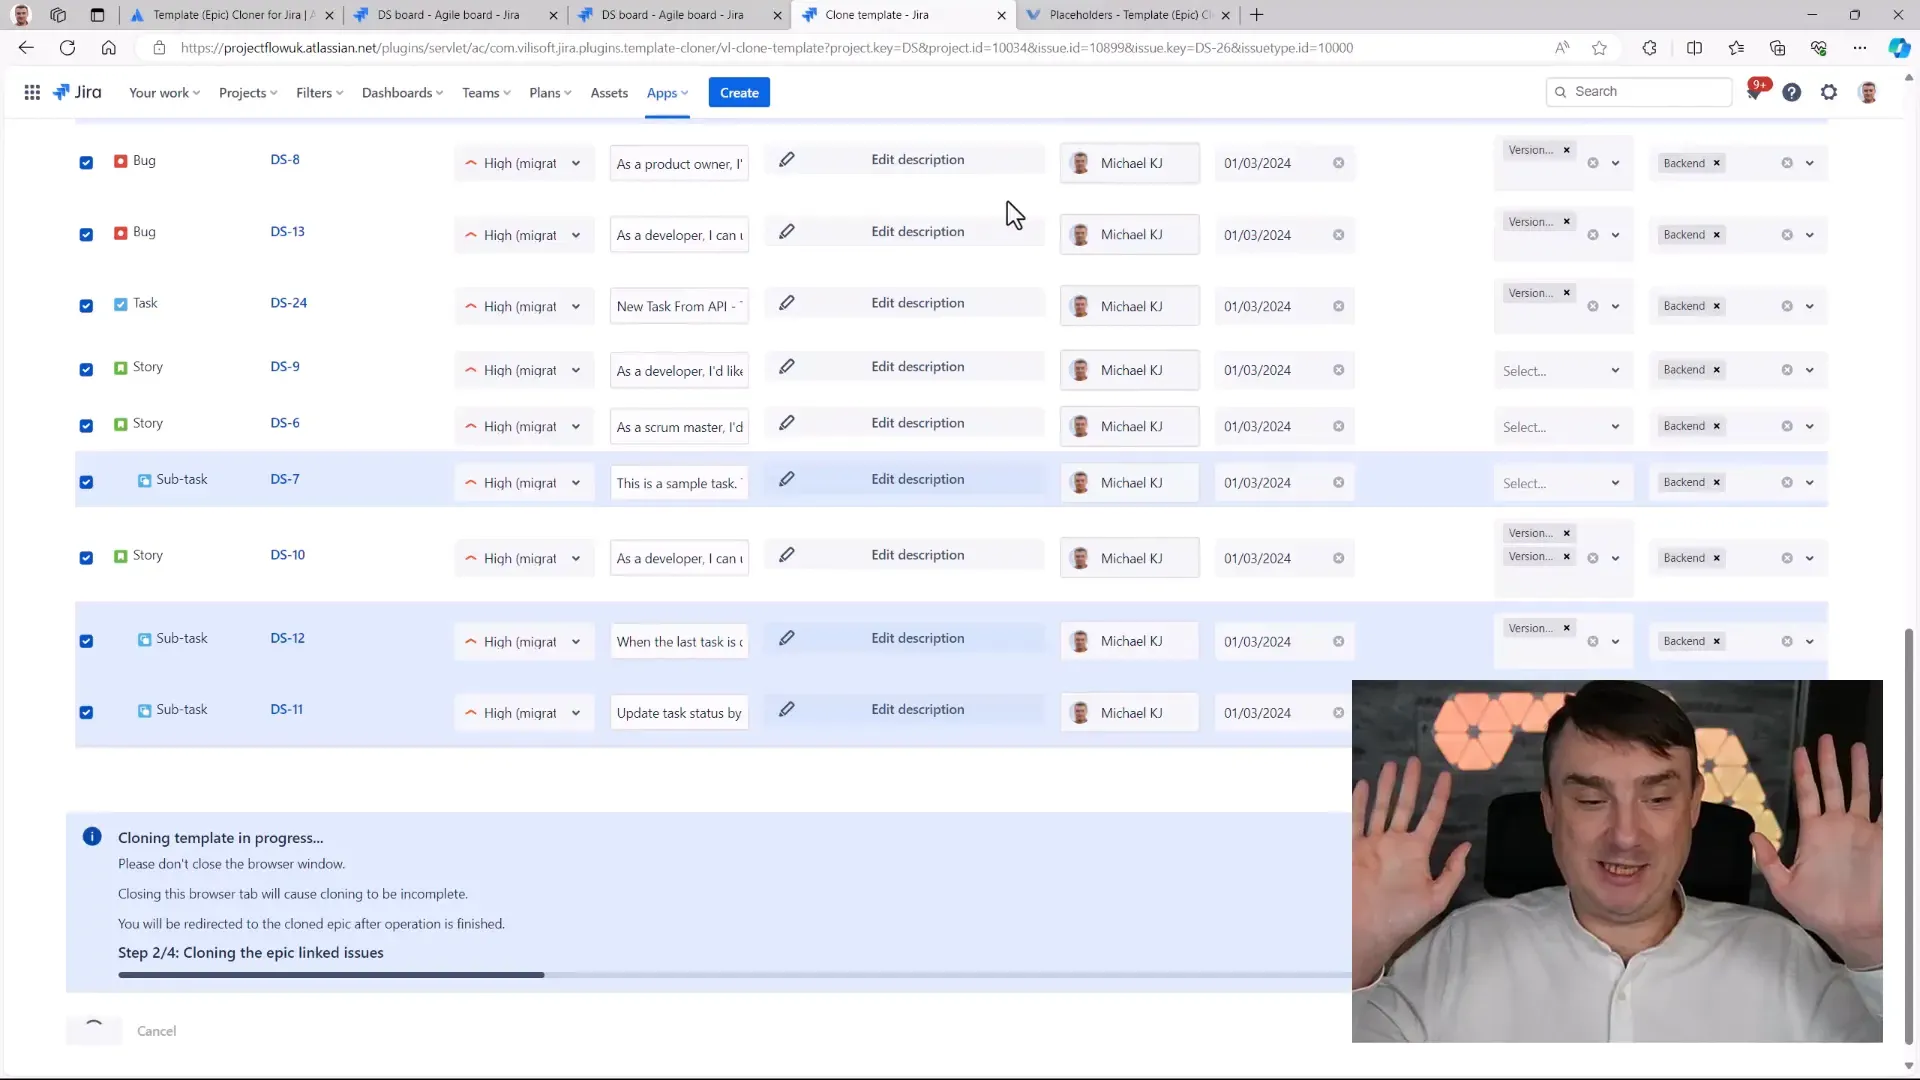
- Bulk Editing:This is where the magic happens. You can set values in bulk for all cloned issues, such as changing priorities or assigning tasks. This can save you tons of time!
Finalize Cloning:Click Clone and watch the plugin work its magic. You’ll see your new epic with all the selected issues created in no time.
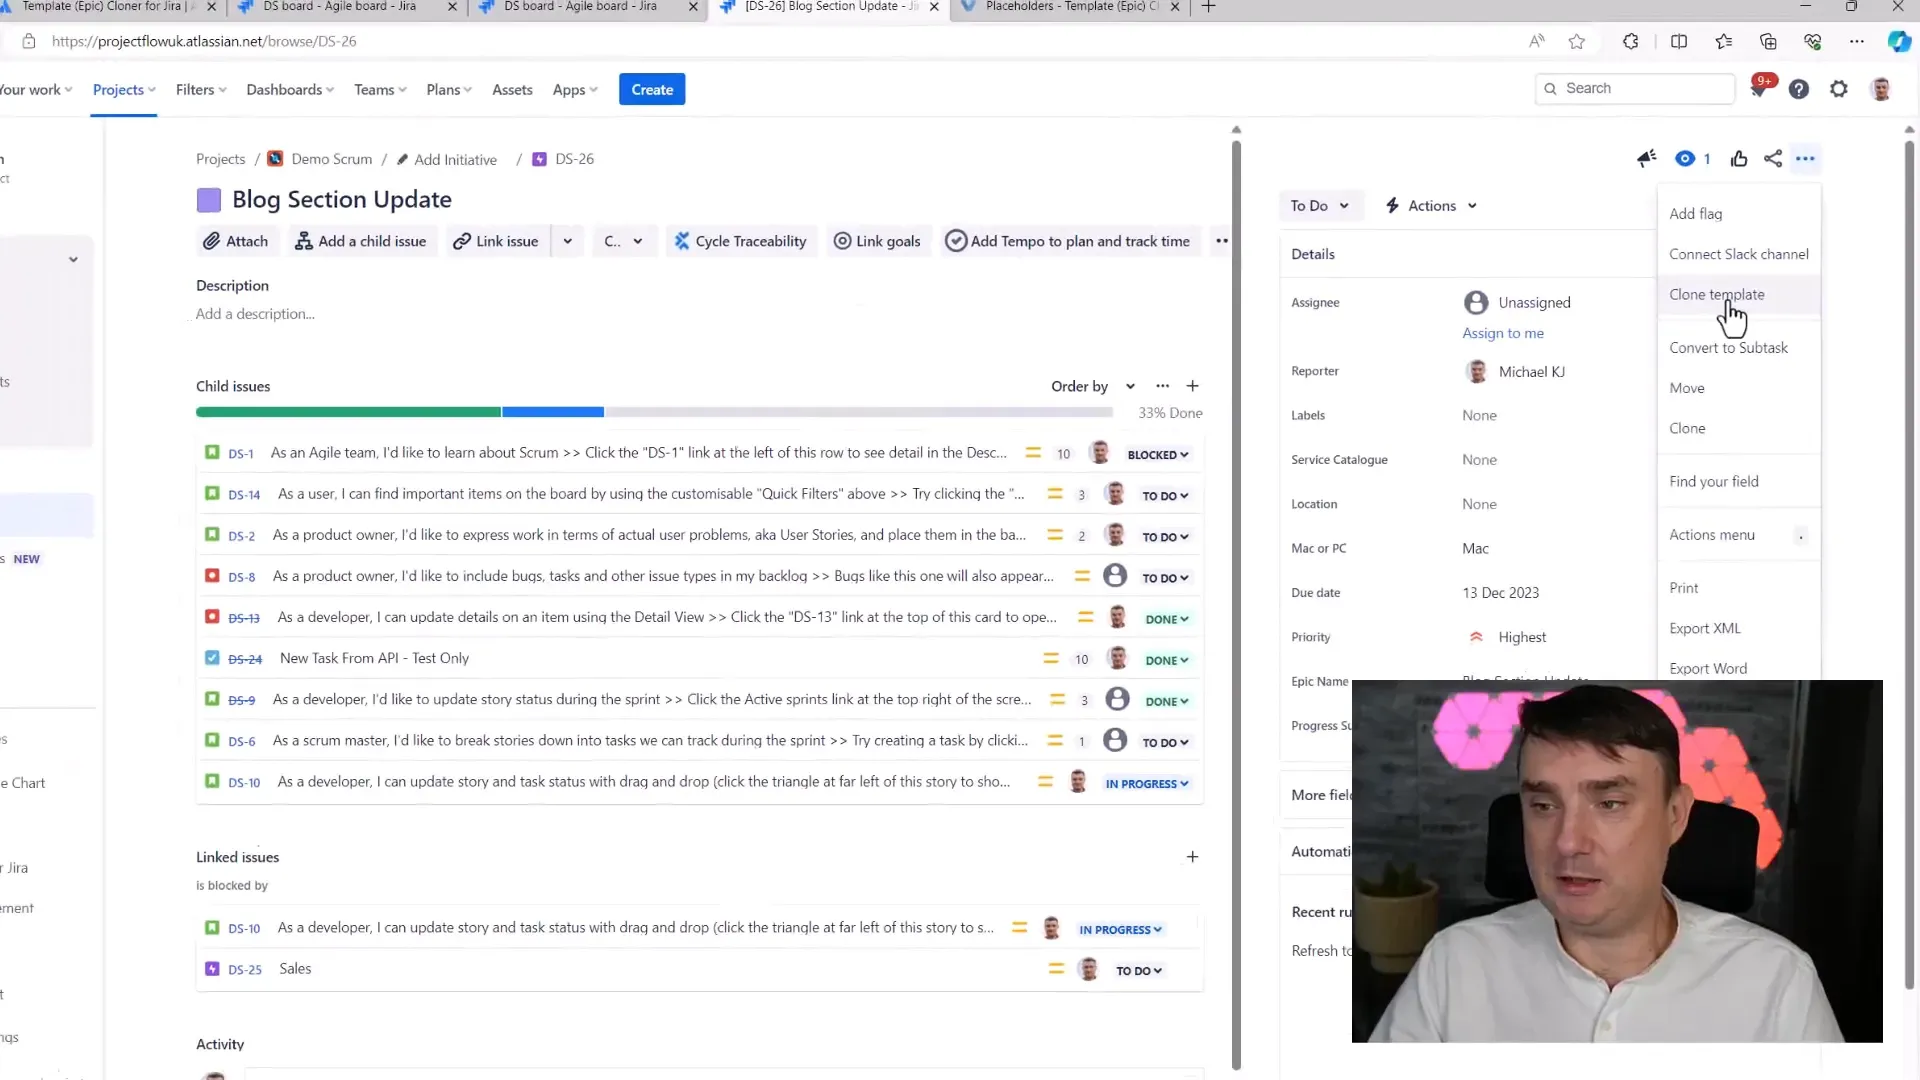
Initiate Cloning:From the right-hand menu, select Clone Template. This will trigger the cloning interface.
Utilizing Placeholders for Efficiency
One of the standout features of the Template Epic Cloner is the use of placeholders, also known as smart values. These allow you to dynamically insert information into your cloned epics.
- Examples of Placeholders: You can use placeholders for project keys, dates, and usernames. This means each cloned task can automatically include relevant information without you having to type it in manually.
- How to Use: When setting up your cloning parameters, simply select the placeholder you want to use and apply it to all relevant fields.
Conclusion
Cloning epics in Jira doesn’t have to be a time-consuming task. With the Template Epic Cloner, you can automate the process, saving you valuable time and effort. Whether you're managing a small team or a large project, this tool can enhance your productivity and streamline your workflow.
Frequently Asked Questions
1. Is the Template Epic Cloner suitable for Jira Data Center?
Yes, it works for both Jira Cloud and Jira Data Center, although it has been primarily tested on Jira Cloud.
2. Can I try the plugin for free?
Yes! You can enjoy a 30-day free trial to test its features.
3. Where can I find more information about using the plugin?
You can find detailed documentation and setup guides on the developer's website.
4. How can I install the Template Epic Cloner?
Visit the Atlassian Marketplace, search for Template Epic Cloner, and follow the installation prompts.
For more resources and tutorials on Jira and Agile management, check out Project Flow Academy.


