Jira Service Management Crash Course 2025

Welcome to your ultimate guide on Jira Service Management (JSM). This crash course is designed to help you get started with JSM quickly and efficiently, whether you're a complete beginner or have some experience. Join us as we explore pricing models, installation, default setups, and much more.
Welcome to the JSM Course!
Welcome to the world of Jira Service Management (JSM), where efficiency meets user-friendly design! In this section, we’ll embark on an exciting journey through the essentials of JSM, tailored for both newcomers and seasoned users alike. Are you ready to unlock the potential of your service desk? Let’s dive in!
Introduction to JSM and Its Benefits
Jira Service Management is not just another tool; it's a powerhouse designed to streamline your service operations. Built on the robust foundation of Jira, JSM offers enhanced features that cater specifically to service management needs. With its intuitive interface and integration capabilities, JSM allows teams to respond swiftly to requests, automate mundane tasks, and provide top-notch customer service.
Some key benefits of using JSM include:
- Improved Collaboration: Seamlessly connect with your team and stakeholders through integrated communication channels.
- Customizable Workflows: Tailor workflows to match your organization's processes, ensuring efficiency and clarity in operations.
- Comprehensive Reporting: Generate insightful reports that help you monitor performance and make informed decisions.
- Enhanced Customer Experience: Provide a user-friendly portal for customers to submit requests and track their progress.
Consulting Services and Self-Learning
While JSM is designed to be user-friendly, there’s always room for expert guidance. Our consulting services are tailored to help you navigate the complexities of JSM. Whether you need a one-off consultation or ongoing support, our team is here to assist you in maximizing your investment in JSM.
For those who prefer a self-learning approach, numerous resources are available, including our comprehensive blogs and tutorials. Check out our guide on using JSM forms for effective service desk management.
Exploring JSM: Pricing, Installation, and Setup
Getting started with JSM is straightforward. The pricing model is designed to accommodate various team sizes and needs. JSM offers a free version for teams with up to three agents, making it an excellent option for small businesses or teams wanting to test the waters.
Installation is a breeze. With just a few clicks, you can set up your JSM instance and start customizing it to suit your organization's needs. The default setup is robust, often requiring only minor tweaks to get you up and running.
Understanding JSM's Relationship with Jira and Confluence
JSM is designed to work in harmony with Jira and Confluence, creating a powerful ecosystem for project management and documentation. This integration allows teams to link service requests with project tasks, ensuring that nothing falls through the cracks.
Confluence serves as a knowledge base, enabling teams to document processes, solutions, and FAQs that can be accessed directly from the JSM portal. This synergy not only enhances efficiency but also empowers your team to provide better support to customers.
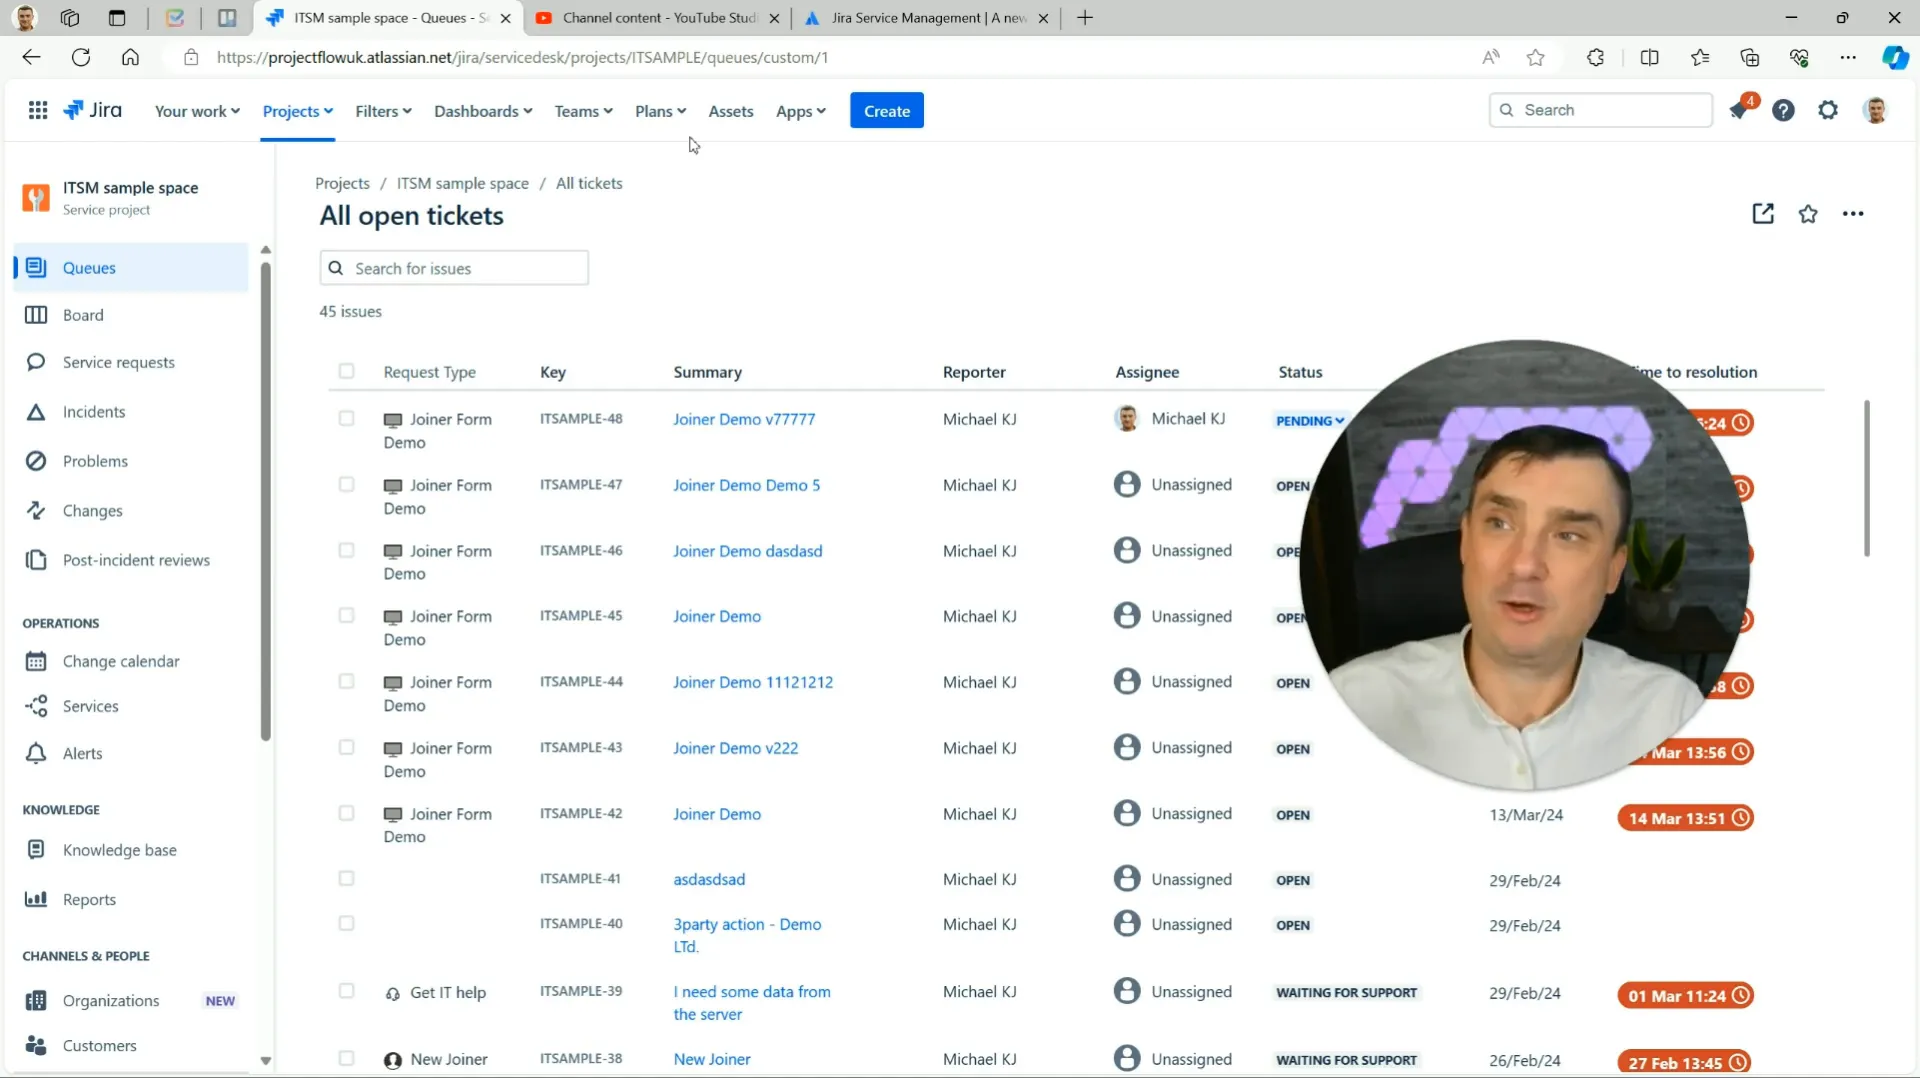
Ticket Creation Methods in JSM
One of the standout features of JSM is its flexibility in ticket creation. Users can raise tickets through various methods:
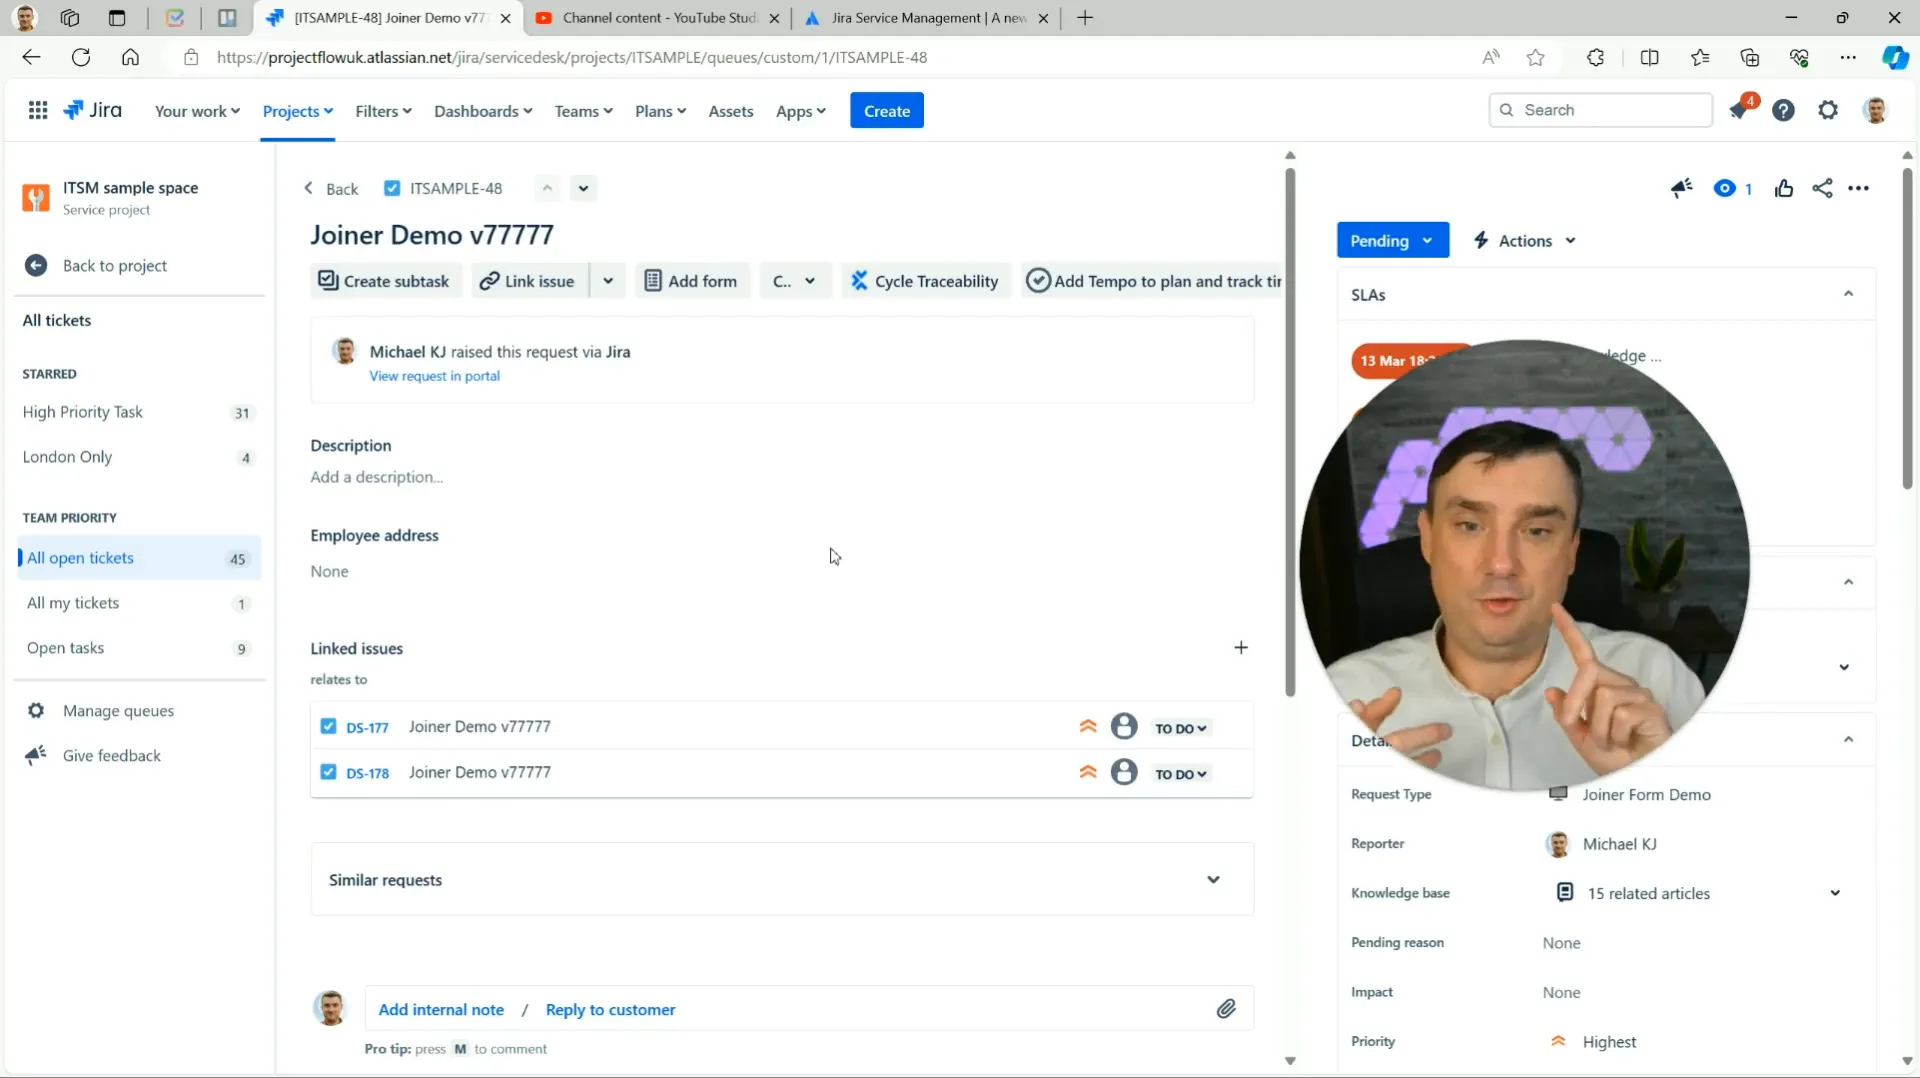
- Classic Method: Navigate to JSM and click the 'Create' button to submit a request manually.
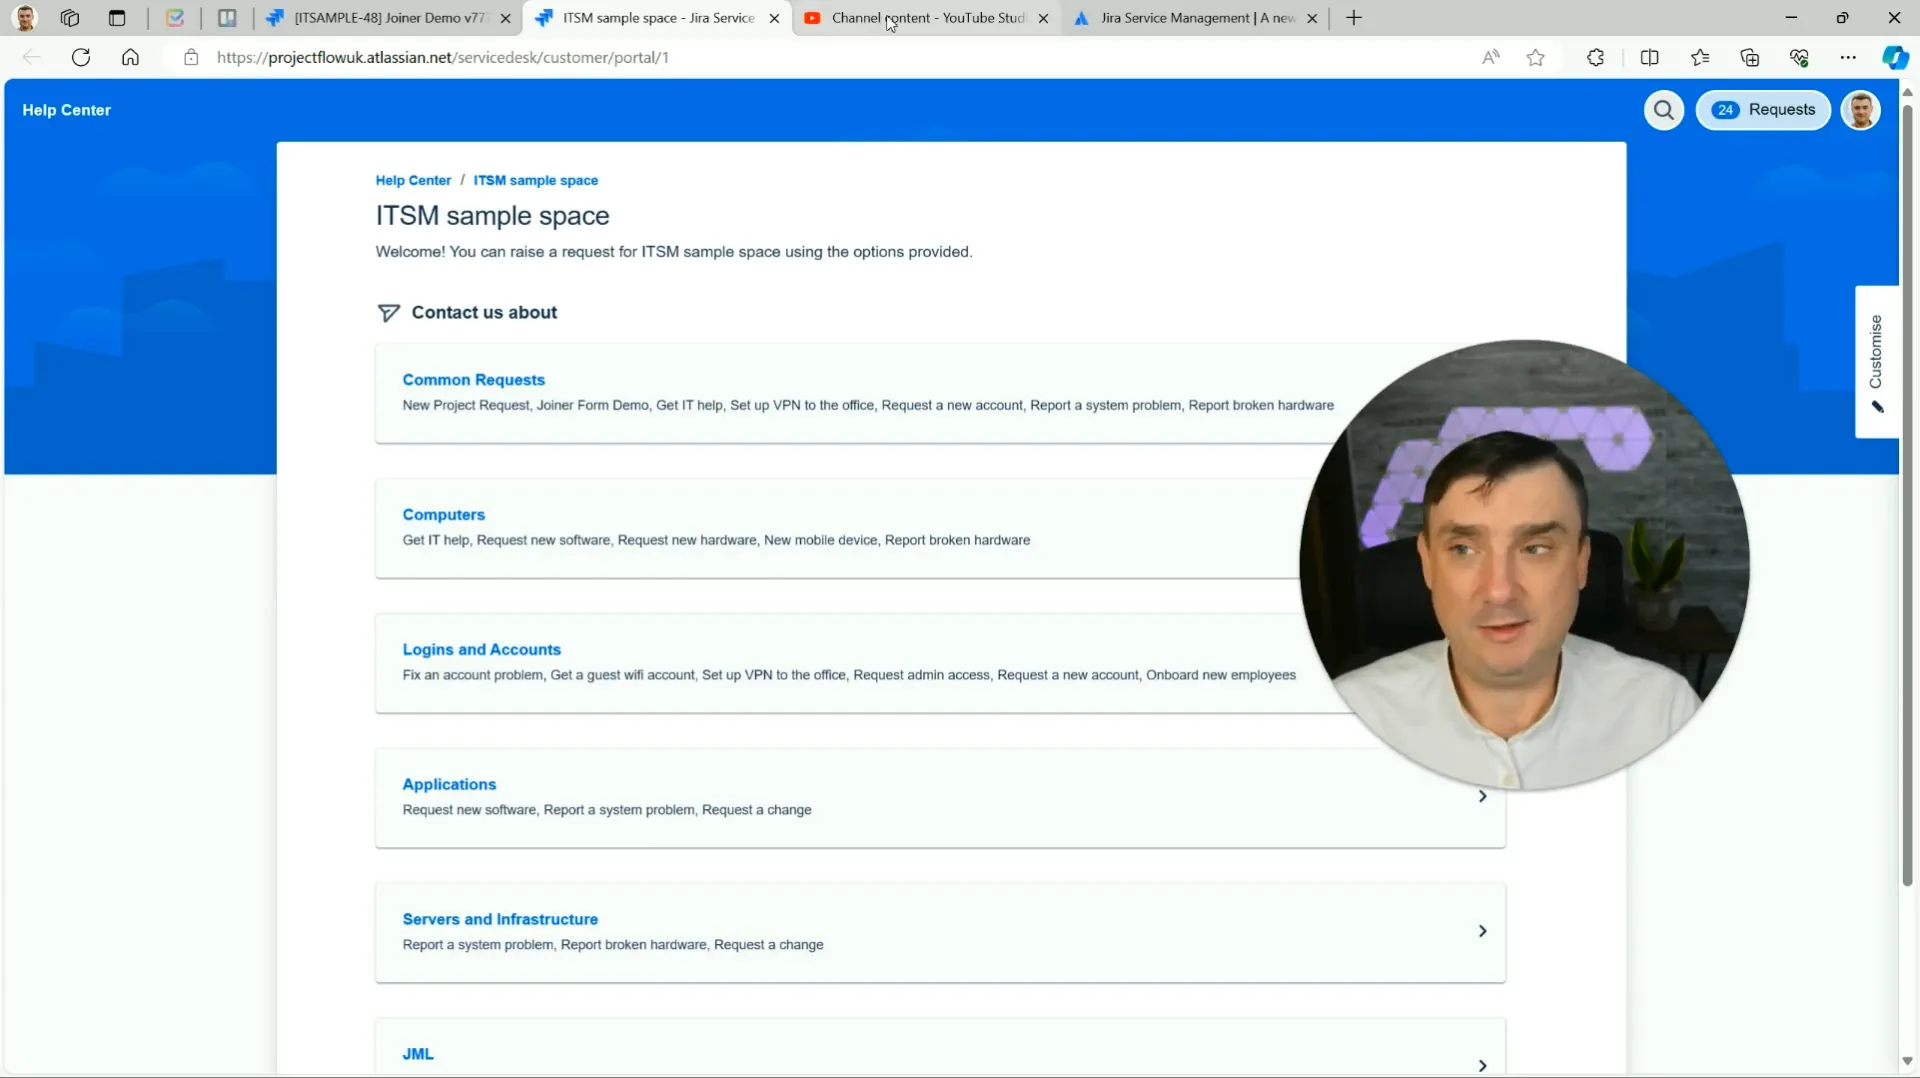
- Service Portal: Customers can submit requests through a user-friendly portal tailored to their needs.
- Email: JSM allows ticket creation directly from email, streamlining the process for users who prefer this method.
This versatility ensures that users can choose the method that best suits their workflow, making it easier to manage requests efficiently.
Diving into JSM Licensing and Pricing Models
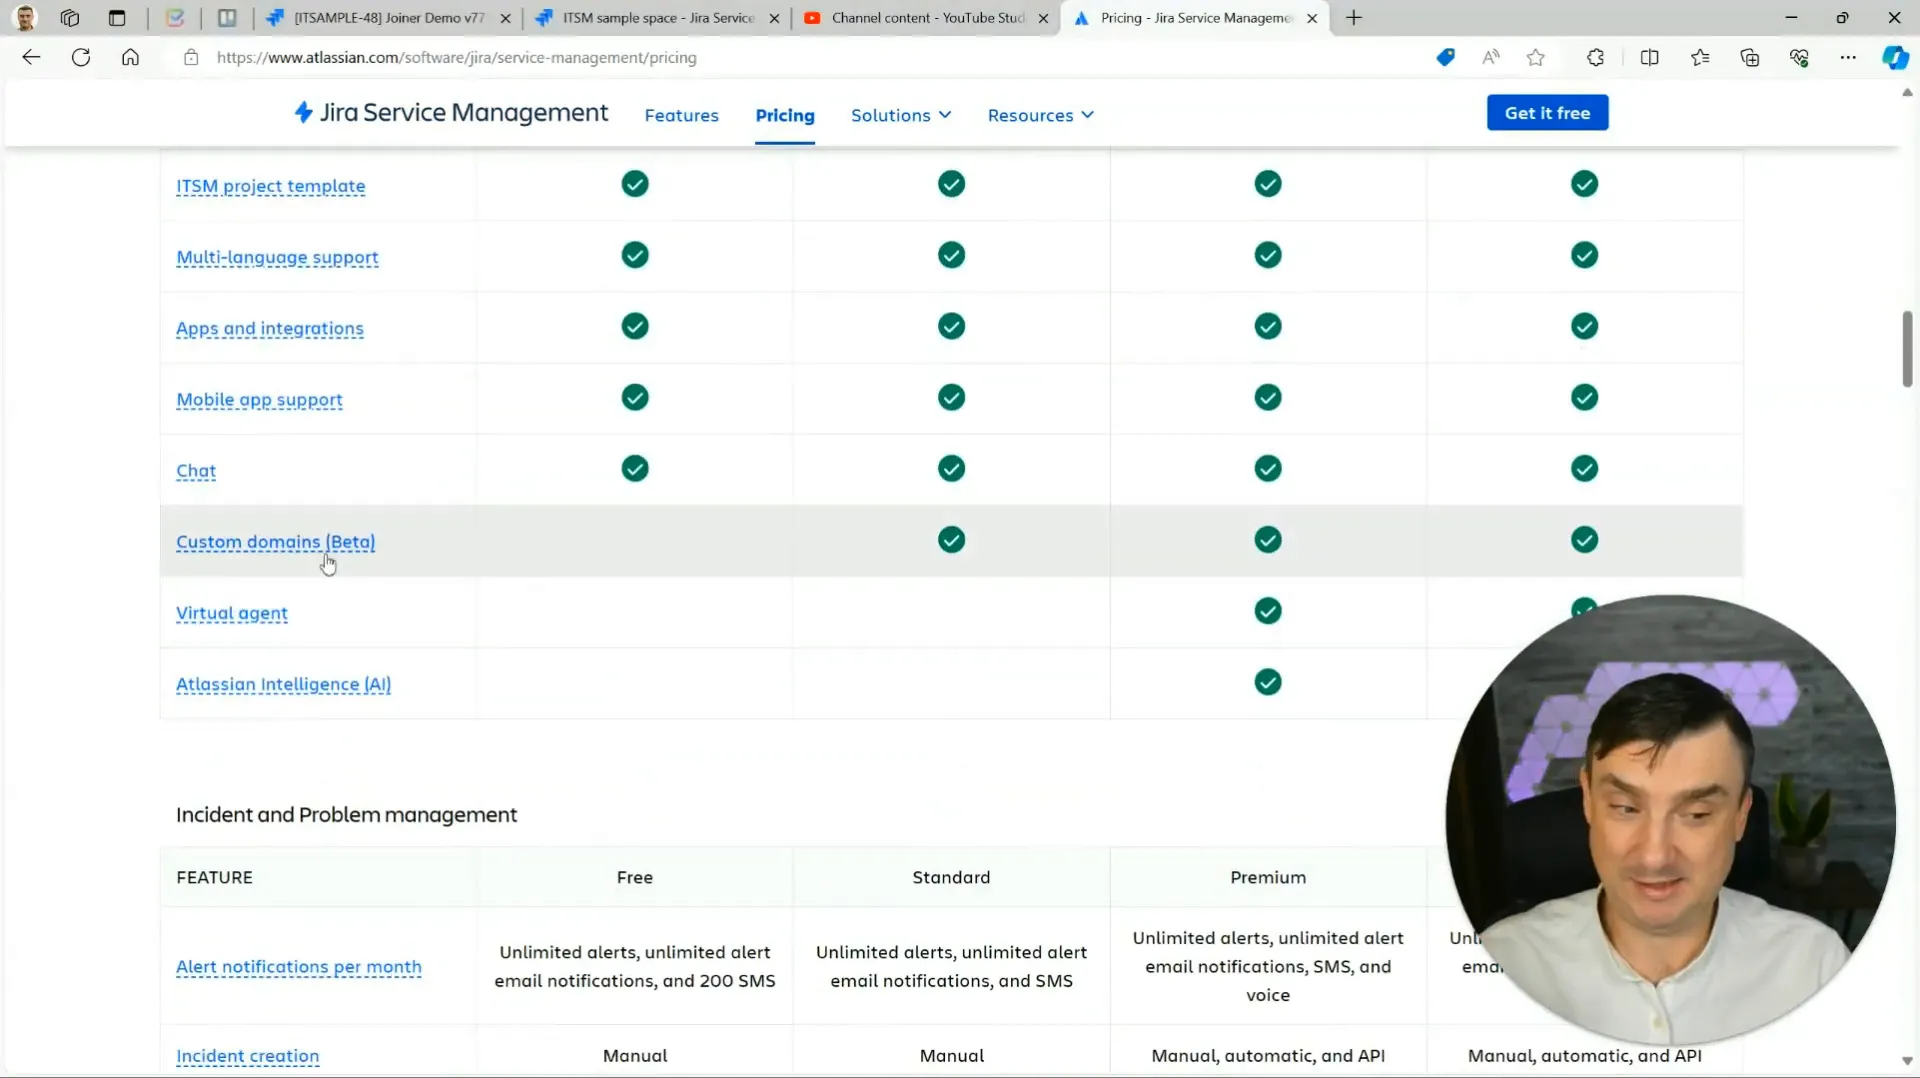
Understanding JSM's licensing options is crucial for making the best choice for your organization. The pricing structure is designed to accommodate various needs:
- Free Version: Ideal for small teams with up to three agents.
- Standard Version: Recommended for most teams, offering a balance of features and affordability.
- Premium Version: Best for larger organizations needing advanced features like asset management and automation tools.
Each version comes with its unique set of features, so consider your team size and requirements when making a decision.
Choosing the Right JSM Version for You
Selecting the right version of JSM is essential to ensure you have the features your team needs without overspending. If you are just starting and want to familiarize yourself with the platform, the free version is an excellent way to begin. As your needs grow, transitioning to the standard or premium version can provide additional capabilities.
Consider factors such as the number of agents, required features, and budget when making your choice. Our guide on team-managed vs company-managed projects can also help clarify which setup is best for your organization.
Setting Up Your JSM Account and Project
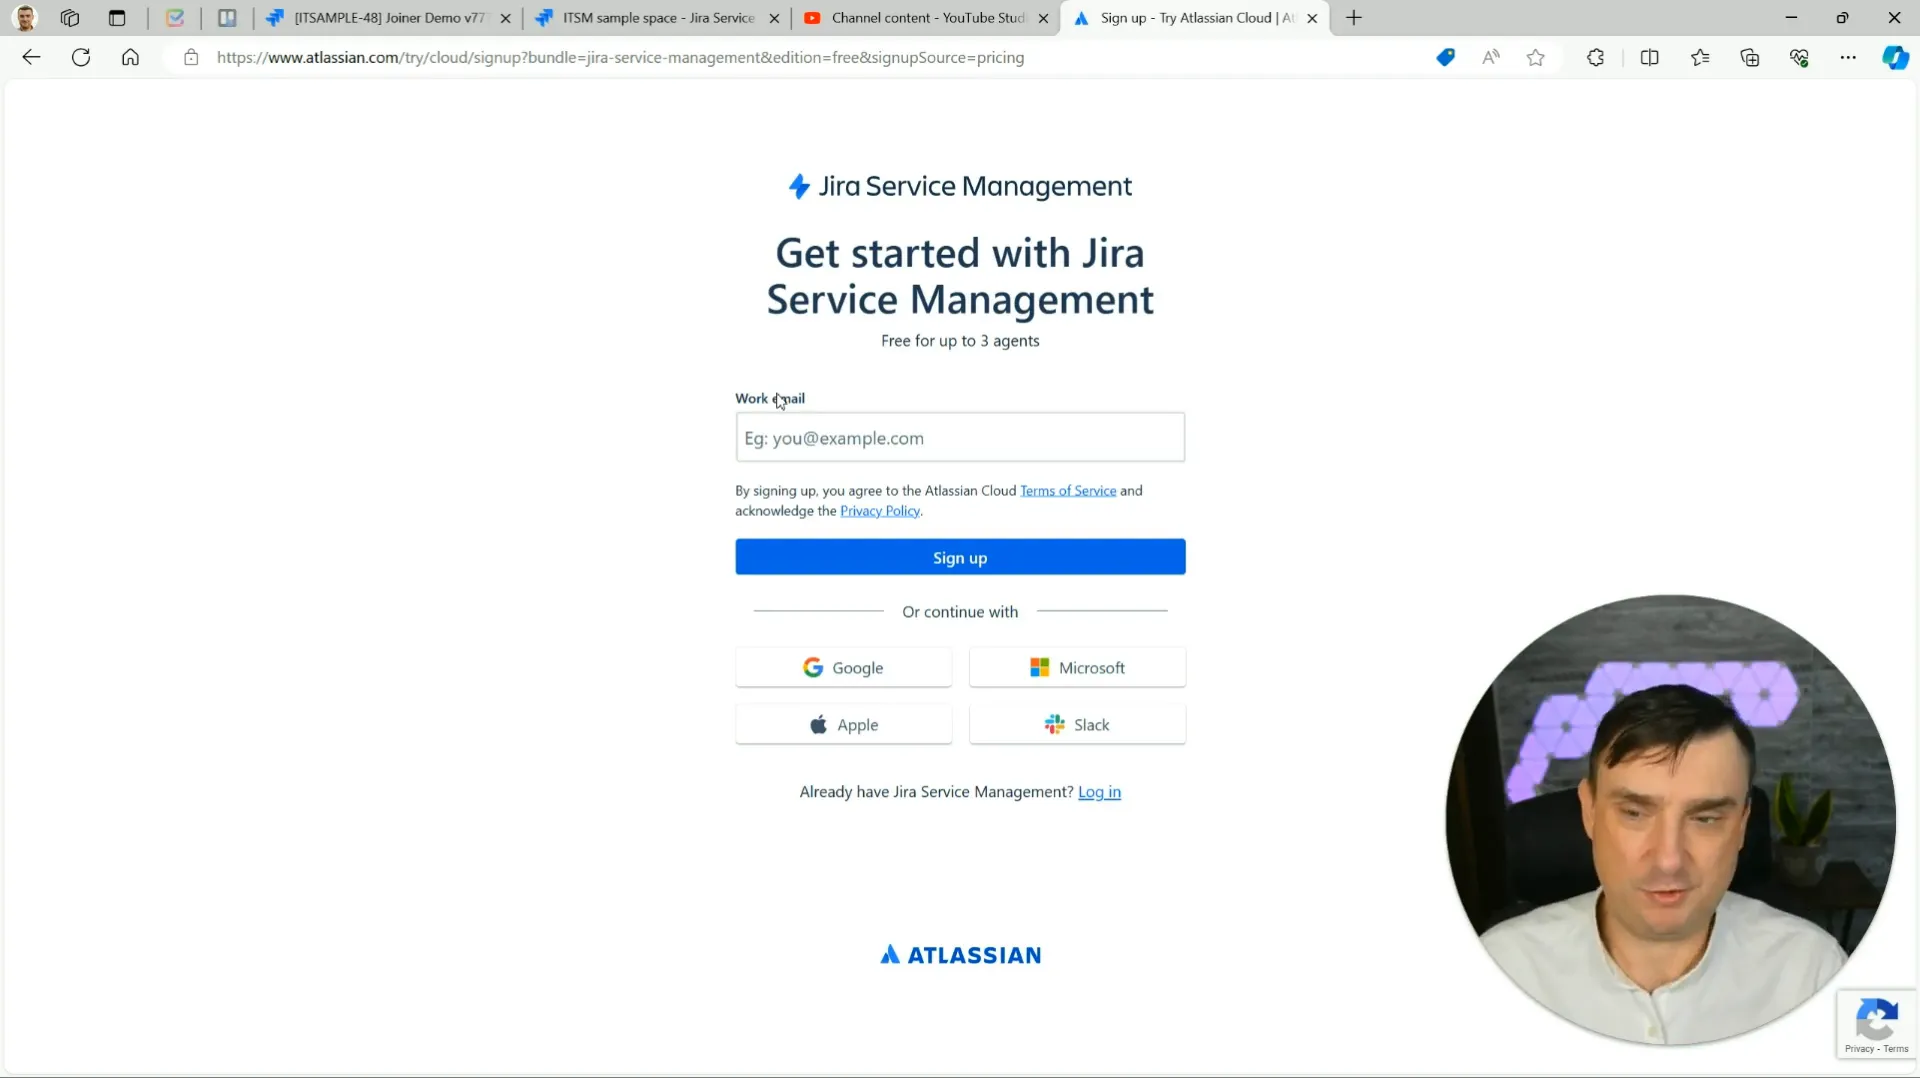
Creating your JSM account is a simple process. You can easily link it to your Google or Microsoft account for quick access. Once your account is set up, you can create your first project in minutes.
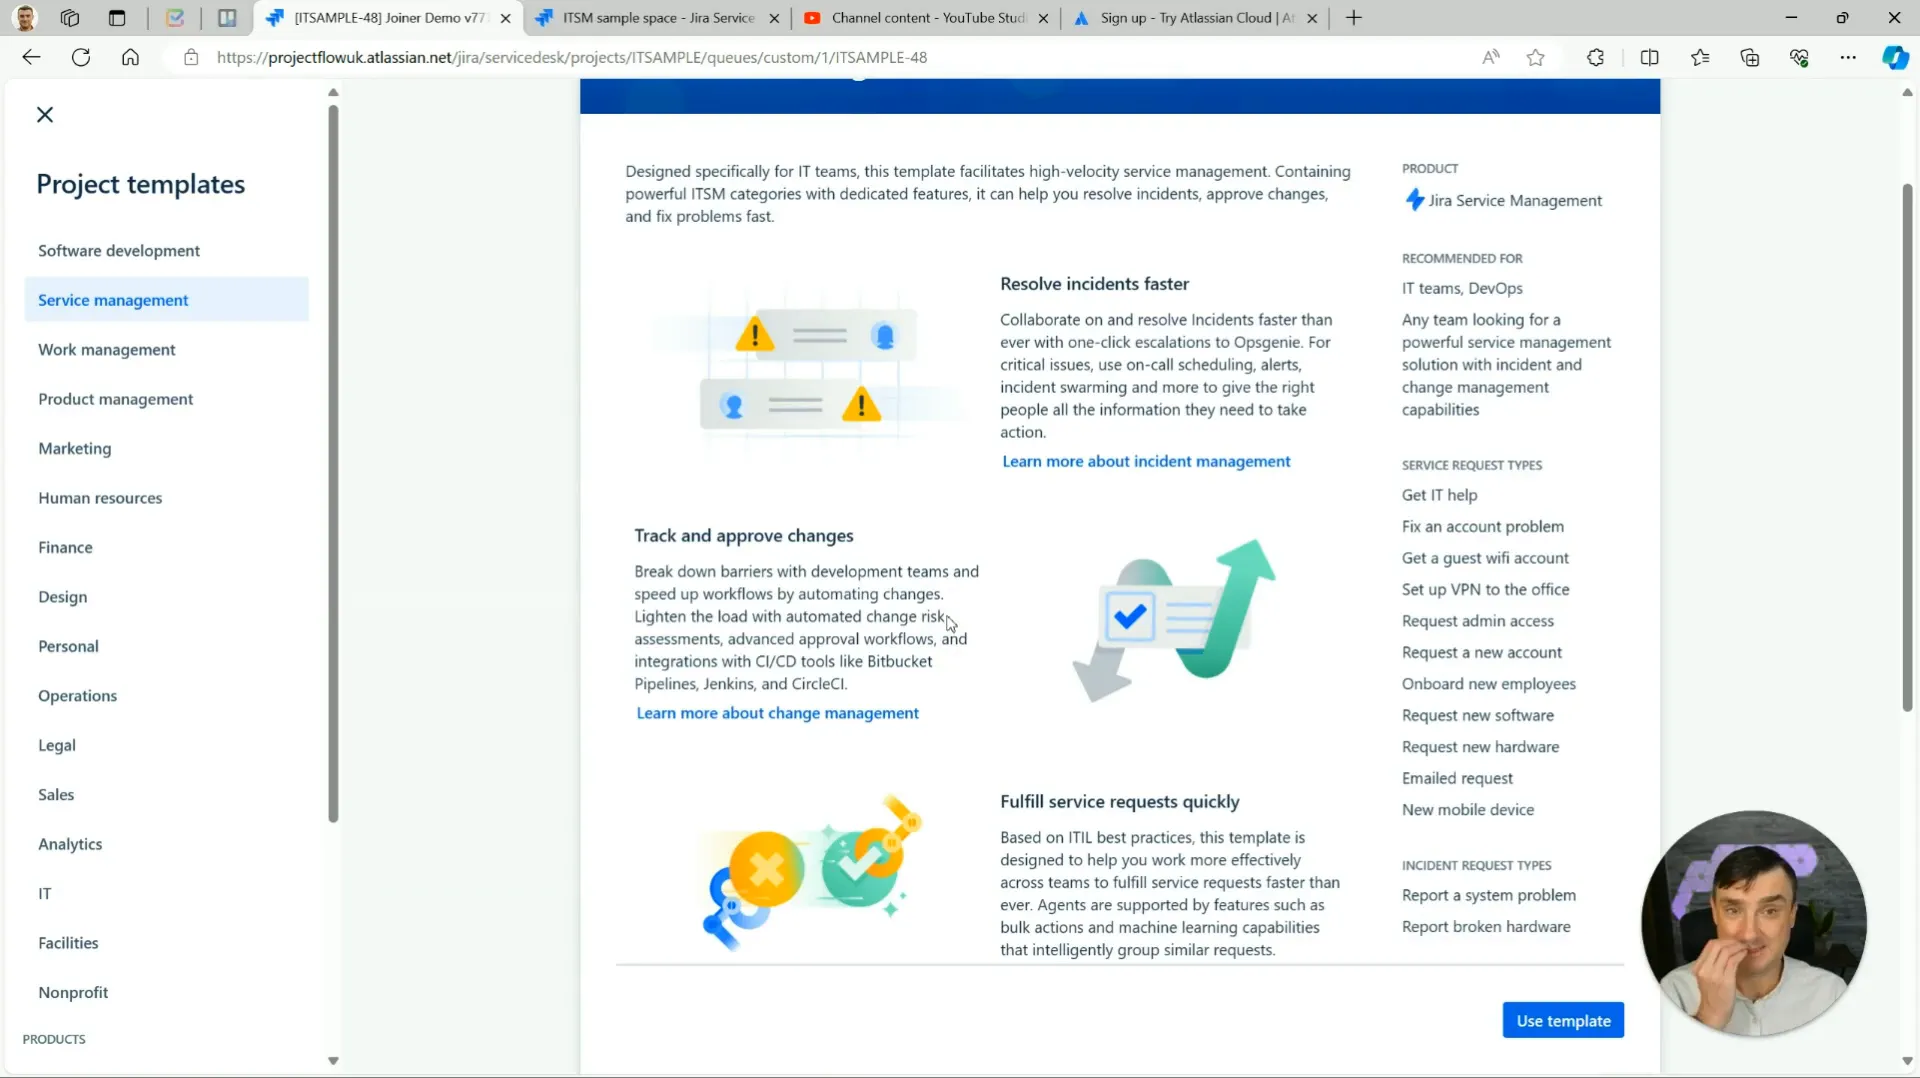
During project creation, you'll have the option to choose between different templates, each tailored for specific use cases. Don't hesitate to experiment with various templates to find the one that aligns best with your team's goals.
Navigating Project Templates and Configuration
JSM offers a variety of project templates designed to cater to different service management needs. Whether you are managing IT requests, customer service inquiries, or HR tickets, there’s a template to suit your requirements.
After selecting a template, you can configure it to fit your team's workflow. This includes customizing fields, setting up queues, and defining user permissions. The flexibility in configuration ensures that JSM can adapt to your specific service management processes.
Creating Tickets and Managing Queues
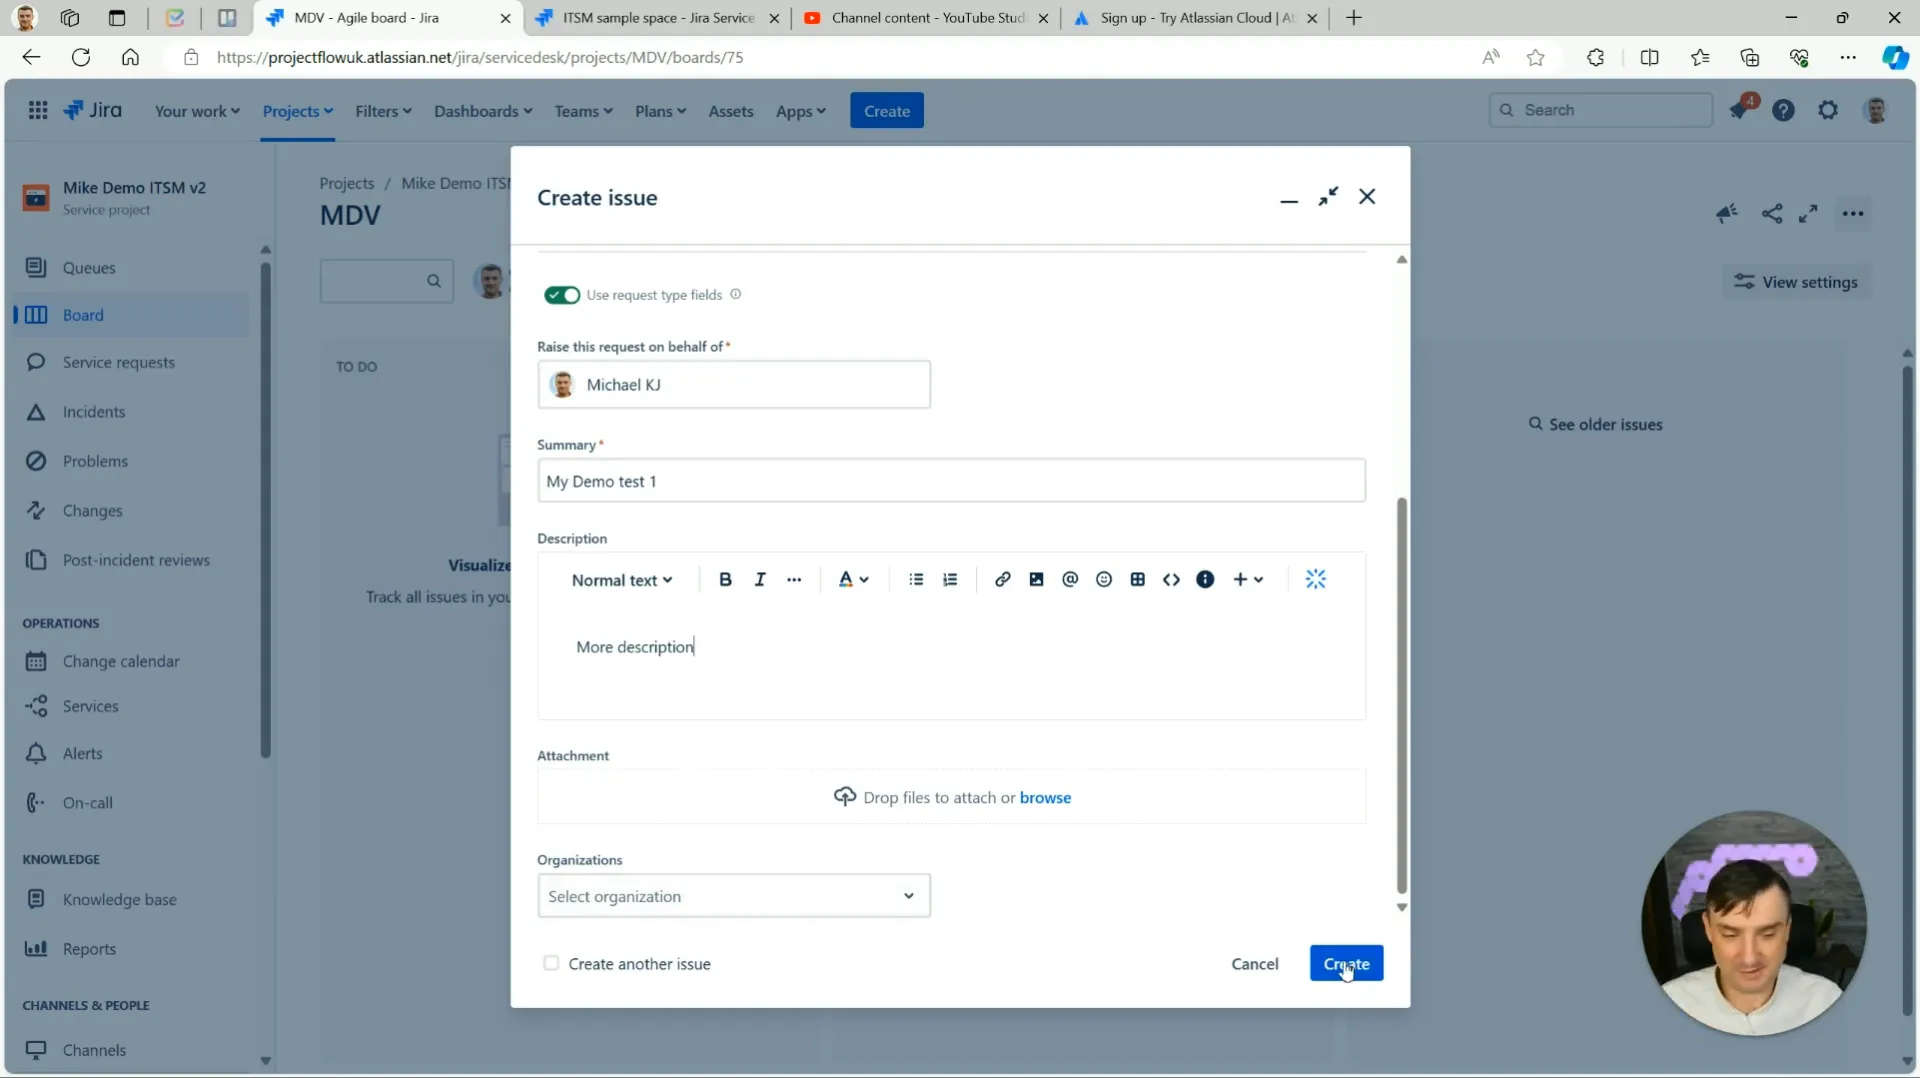
Creating tickets in Jira Service Management (JSM) is a straightforward process that can significantly enhance your team's efficiency. By understanding how to create tickets and manage queues, you can ensure that requests are handled promptly and effectively.
To create a ticket, simply navigate to the JSM interface and select the 'Create' button. Here, you can choose the issue type, add a description, and attach any necessary files. The flexibility of JSM allows you to customize these fields to better suit your organization's needs.

Understanding Request Types
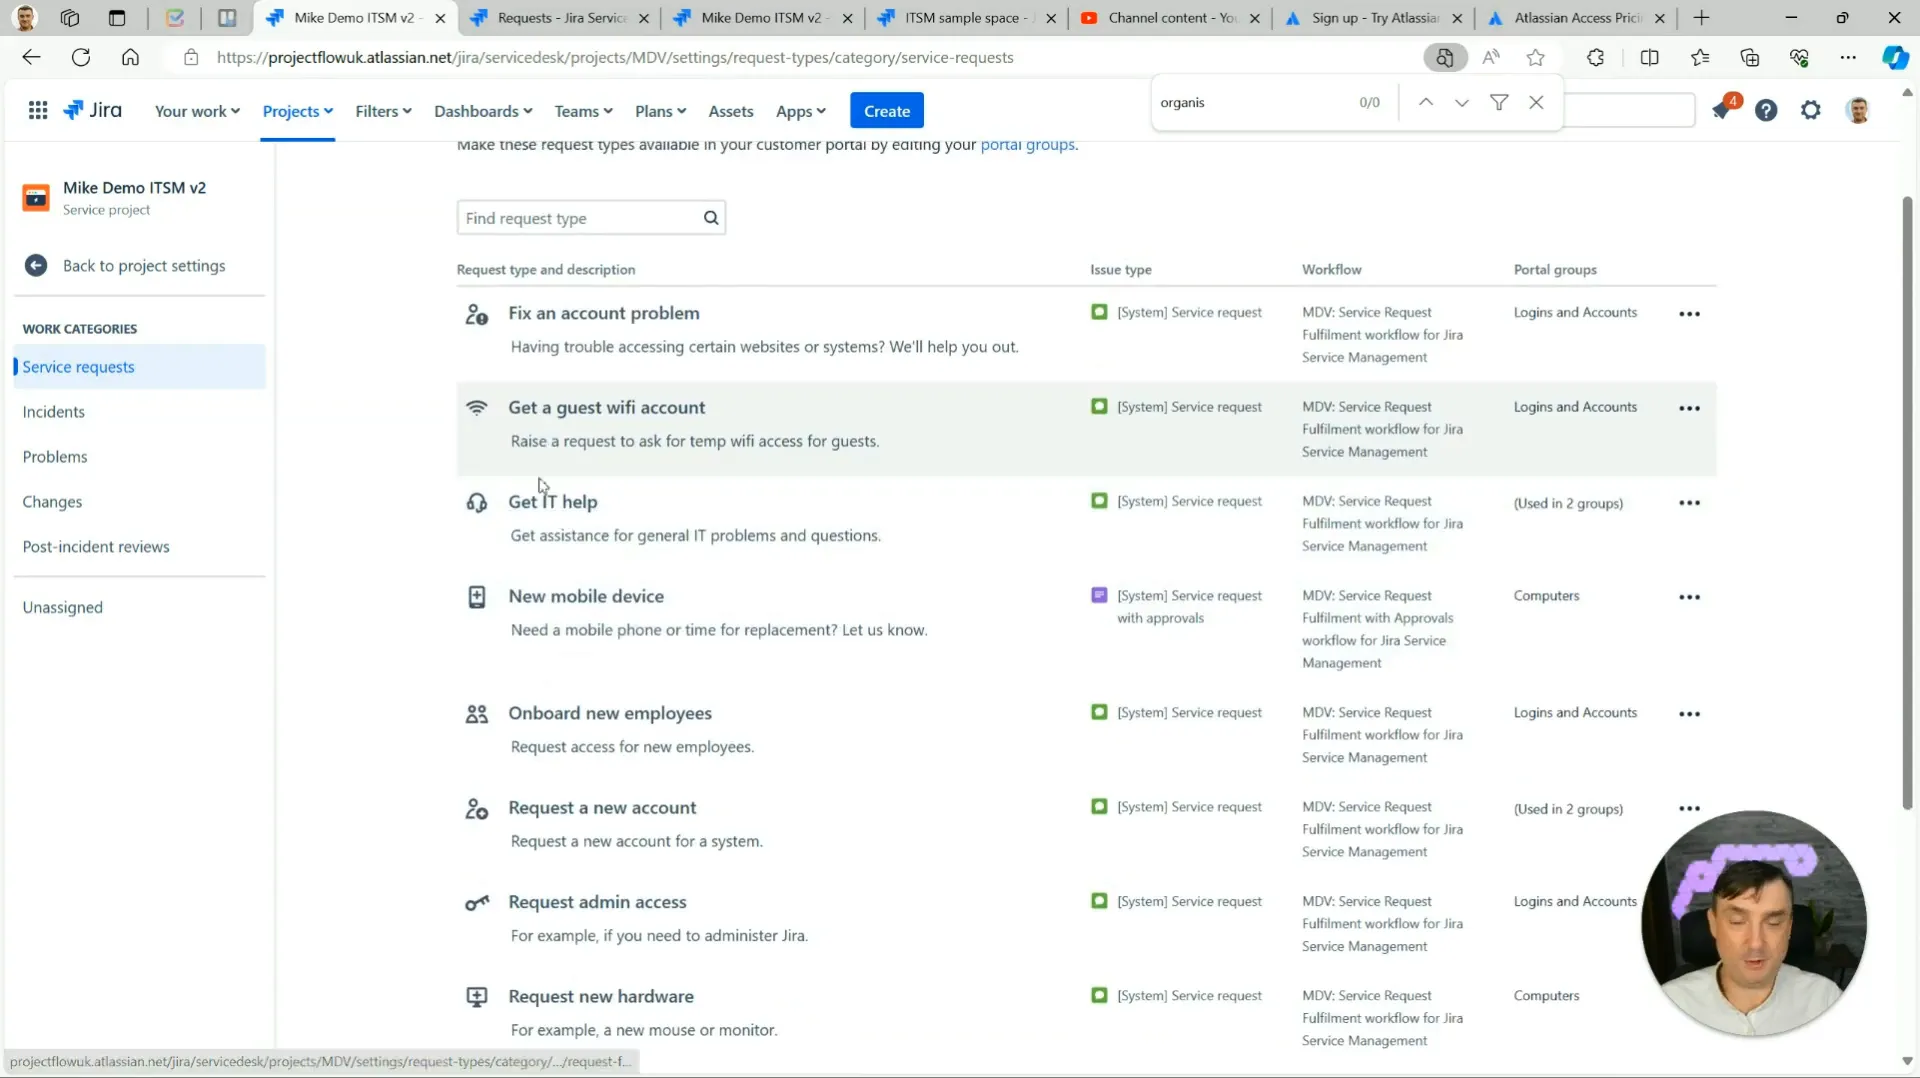
Request types are crucial in JSM as they define the nature of the ticket being created. While clients may only see a ticket ID, the underlying request type helps agents categorize and prioritize tickets. It’s essential to configure these request types according to the most common needs of your users.
For instance, if your team frequently encounters password reset requests, having a specific request type for this issue can streamline the process. This way, agents can quickly identify and address common problems without unnecessary delays.
Managing Queues Effectively
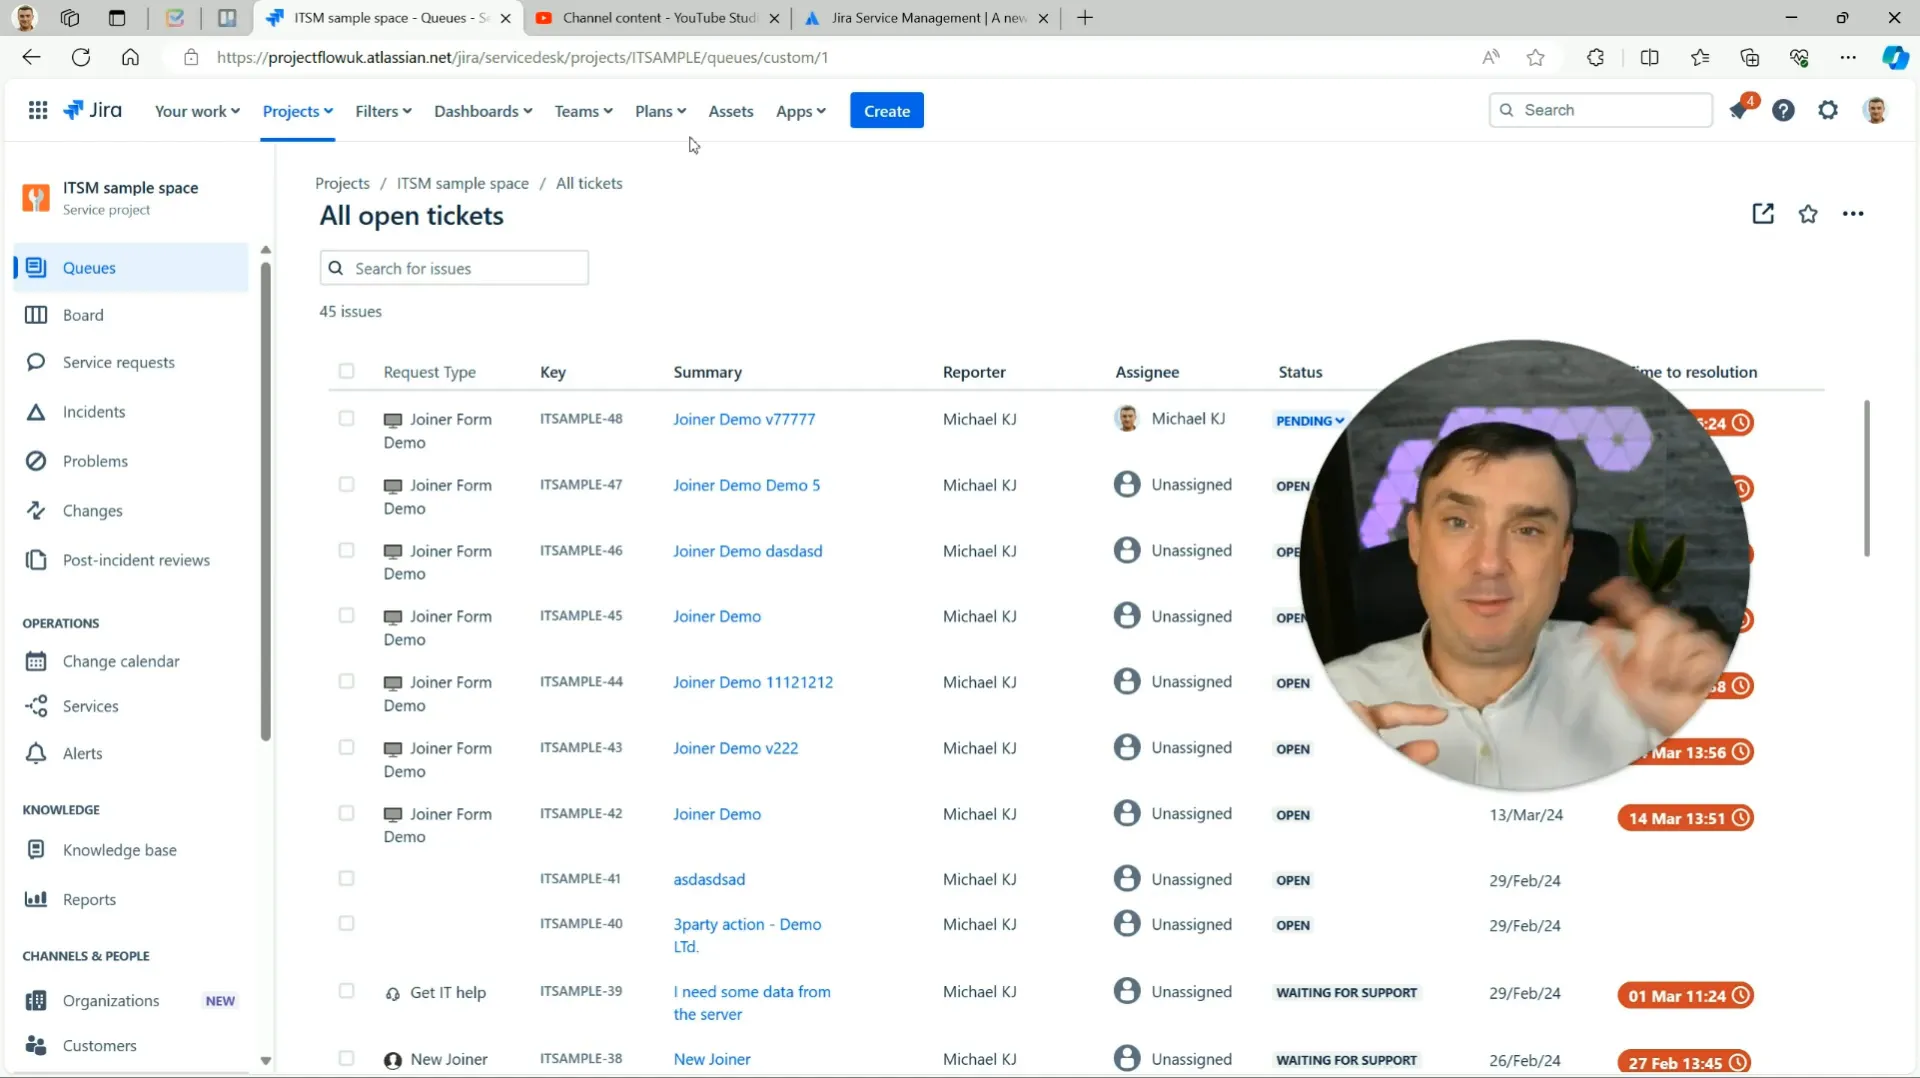
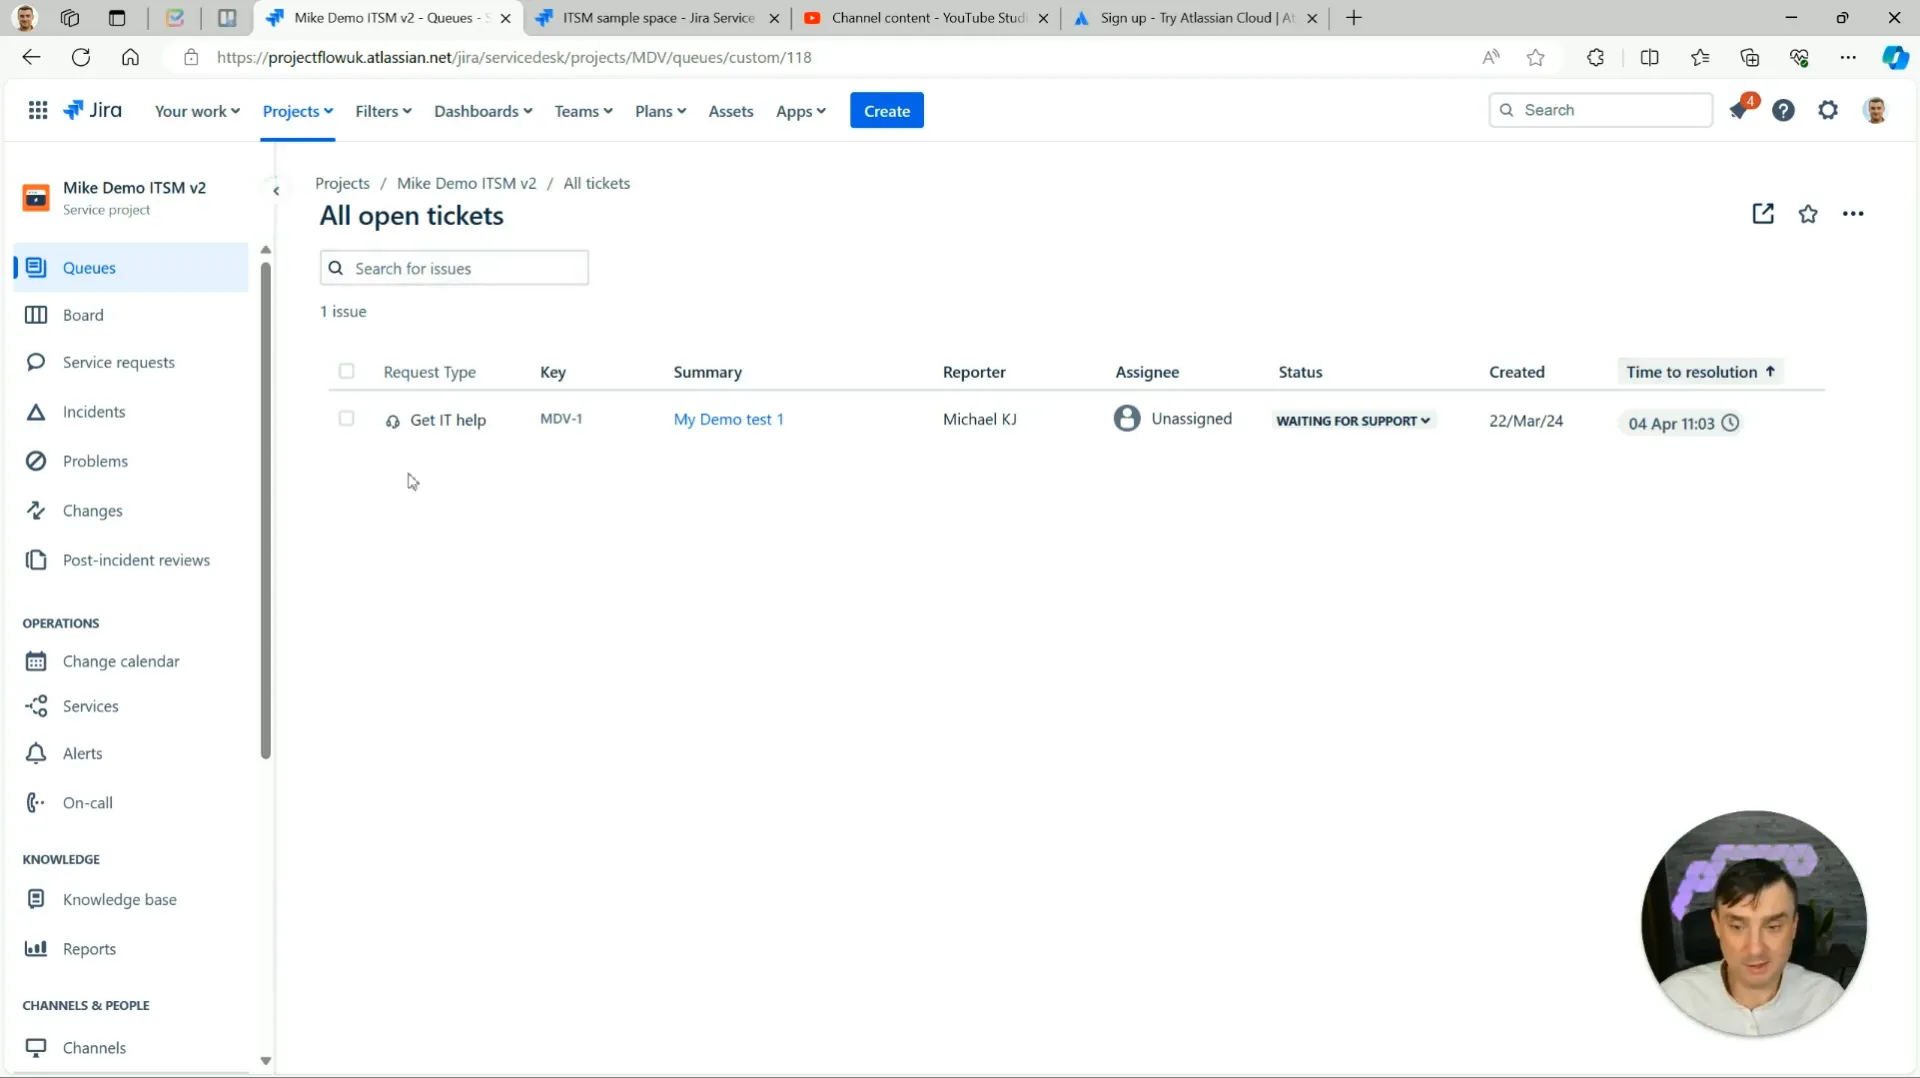
Once tickets are created, they populate the queue where agents can manage and prioritize them. The main view in JSM provides a comprehensive overview of all active tickets. Agents can customize this view to display the most relevant information, such as resolution dates and SLAs (Service Level Agreements).
Creating dedicated queues for specific agents or ticket types can also enhance efficiency, especially in larger teams. However, it’s important to strike a balance; having too many queues can complicate management.
Exploring the Queue and Ticket System
The queue and ticket system in JSM is designed to facilitate seamless management of service requests. Understanding how to navigate this system is vital for any agent working within the platform.
Each ticket in the queue can be clicked on for more detailed information. Agents can view descriptions, comments, and any attached files, allowing for a thorough understanding of the issue at hand.
Customising Your Queue View
Customisation is a key feature of JSM. Agents can modify their queue view to display specific columns that are most relevant to their workflow. For instance, adding columns for priority or due date can help agents focus on critical tasks first.
To customise your view, simply access the settings menu within the queue interface. From there, you can select which columns to display and arrange them in your preferred order. This level of customisation ensures that agents can work efficiently and effectively.
Introducing Boards and Their Configuration
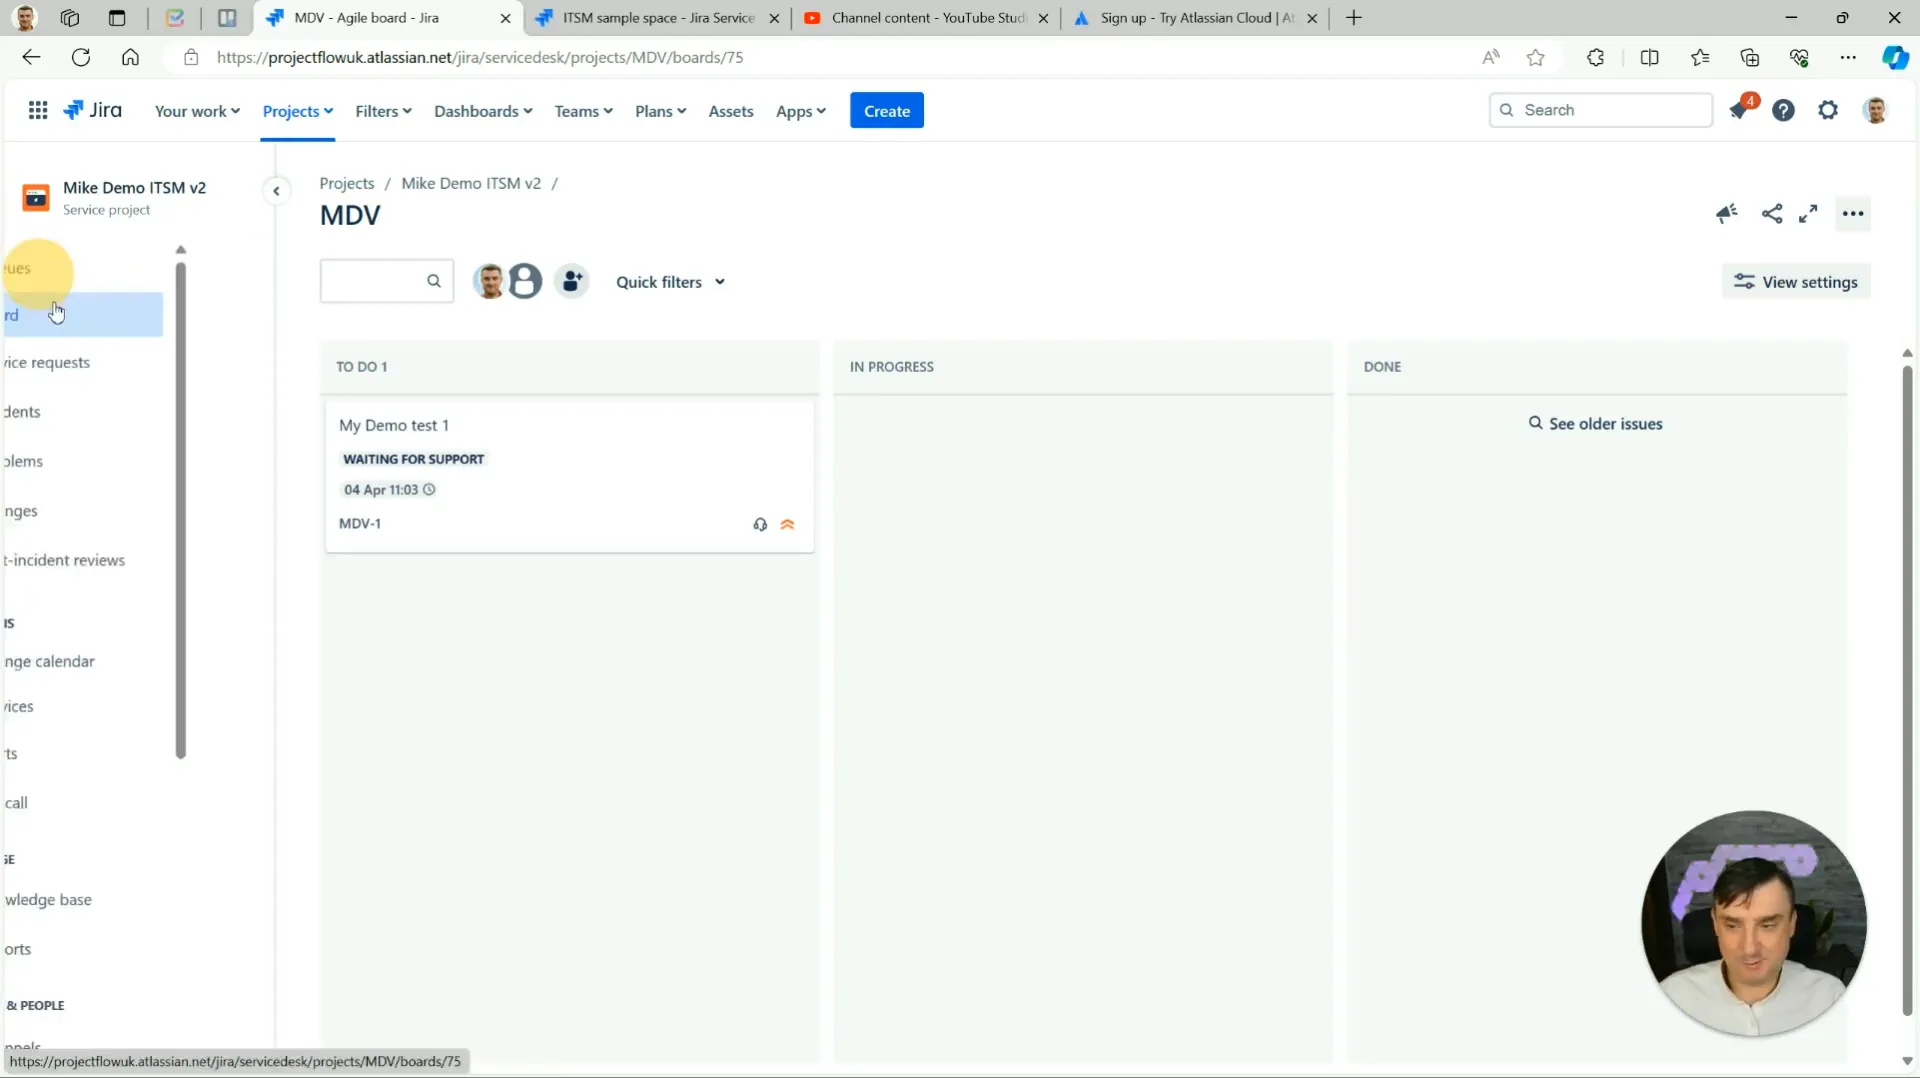
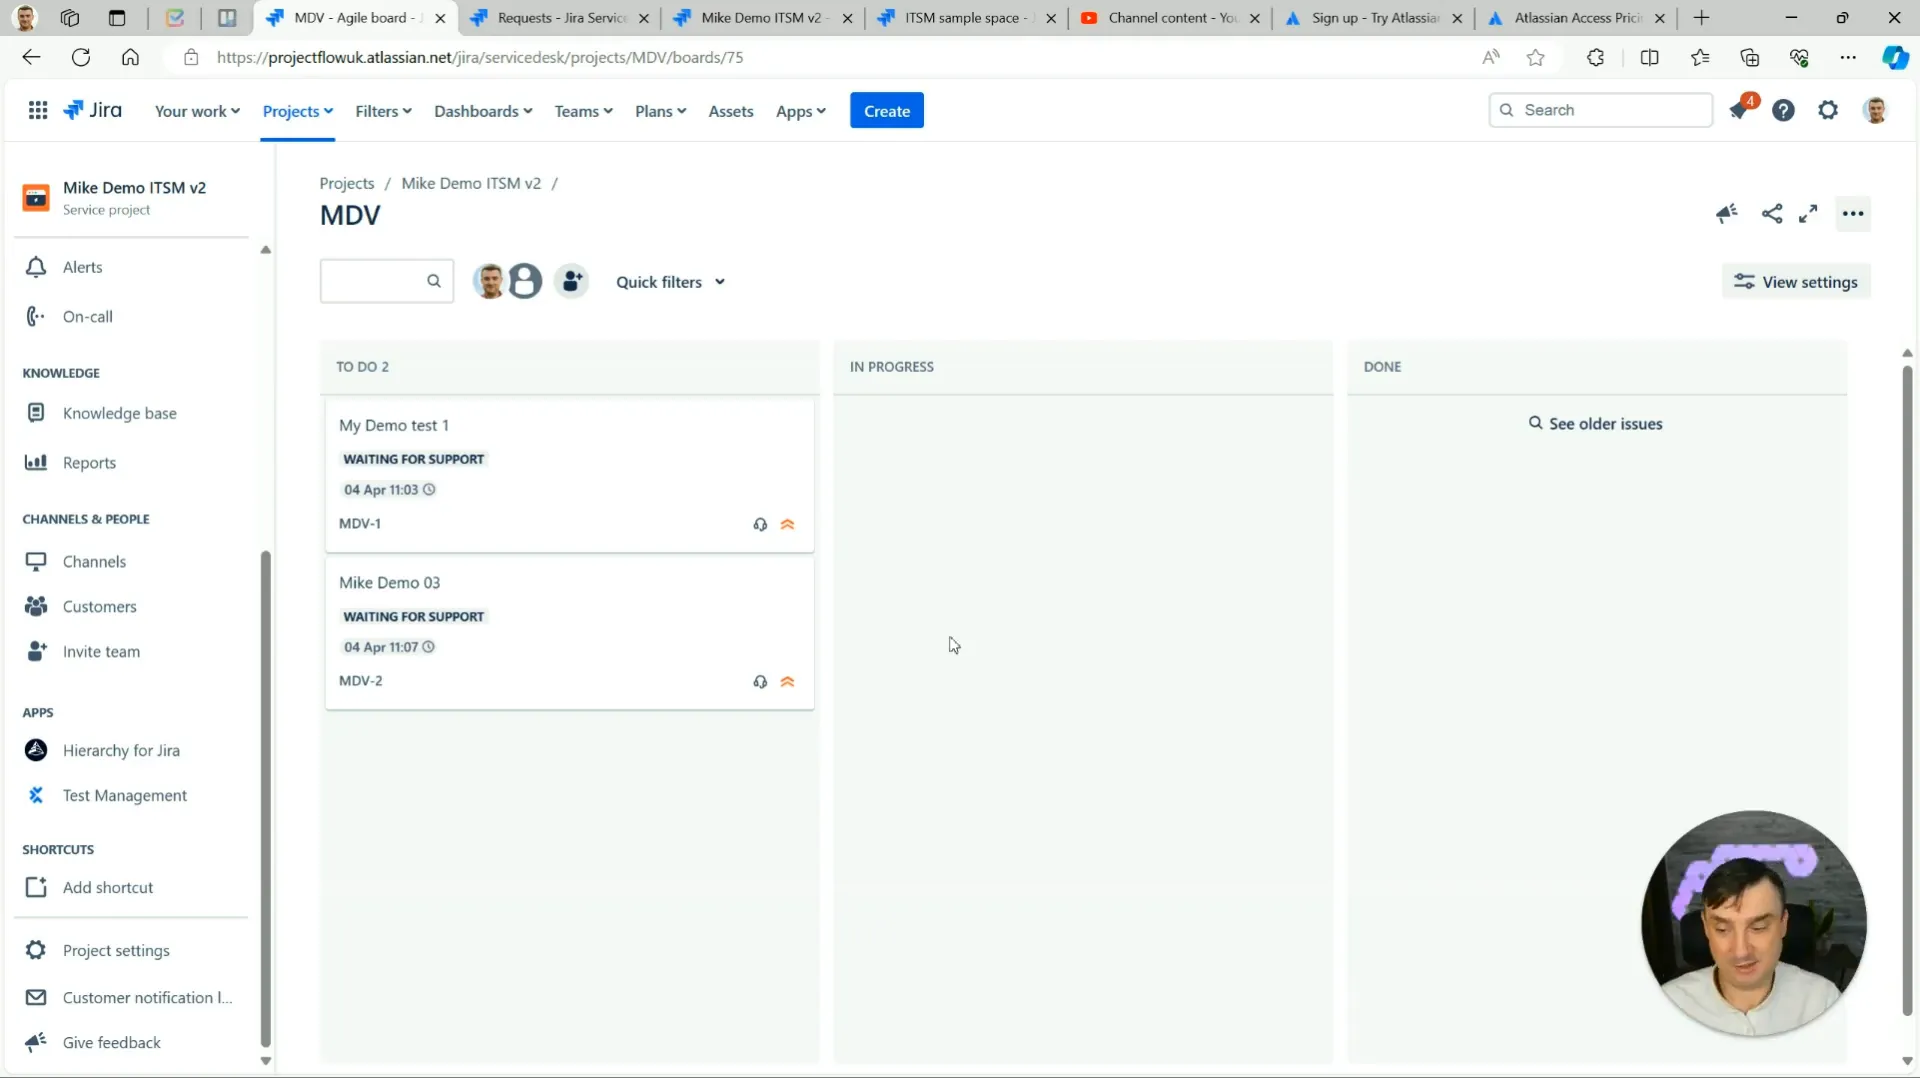
Boards in JSM provide a visual representation of your workflow, helping teams manage tasks more effectively. Unlike traditional queues, boards allow for a more dynamic approach to ticket management, making it easier to track progress and identify bottlenecks.
To set up a board, navigate to the project settings and select the 'Boards' option. Here, you can create a new board and configure its settings to align with your team's workflow. This includes defining columns for different stages of ticket resolution, such as 'To Do', 'In Progress', and 'Done'.
Utilising Swimlanes
Swimlanes can further enhance your boards by grouping tickets based on specific criteria, such as assignee or priority. This feature allows for quick visual identification of workload distribution among team members.
To add swimlanes, access your board settings and select the 'Swimlanes' tab. From there, you can define how you want tickets to be grouped, helping your team to maintain focus and efficiency.
Diving Into Channels and Portal Customization
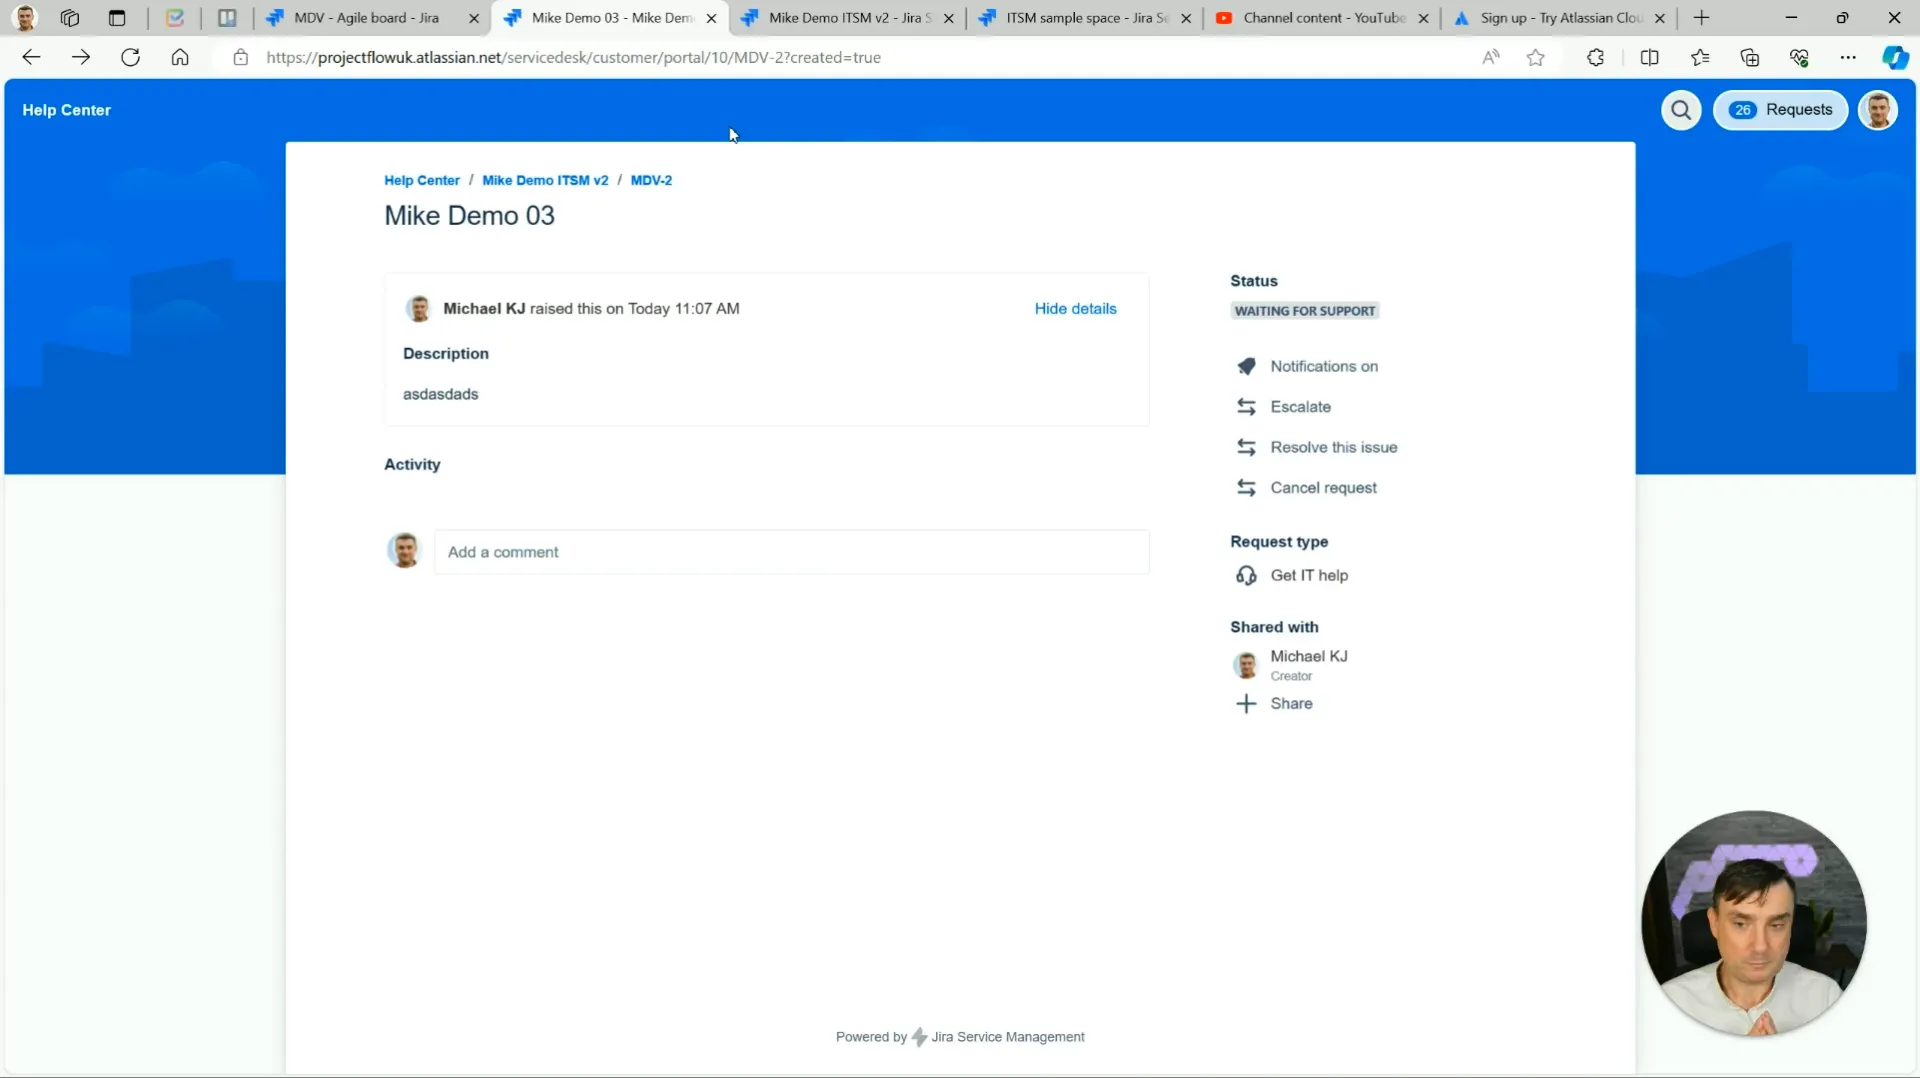
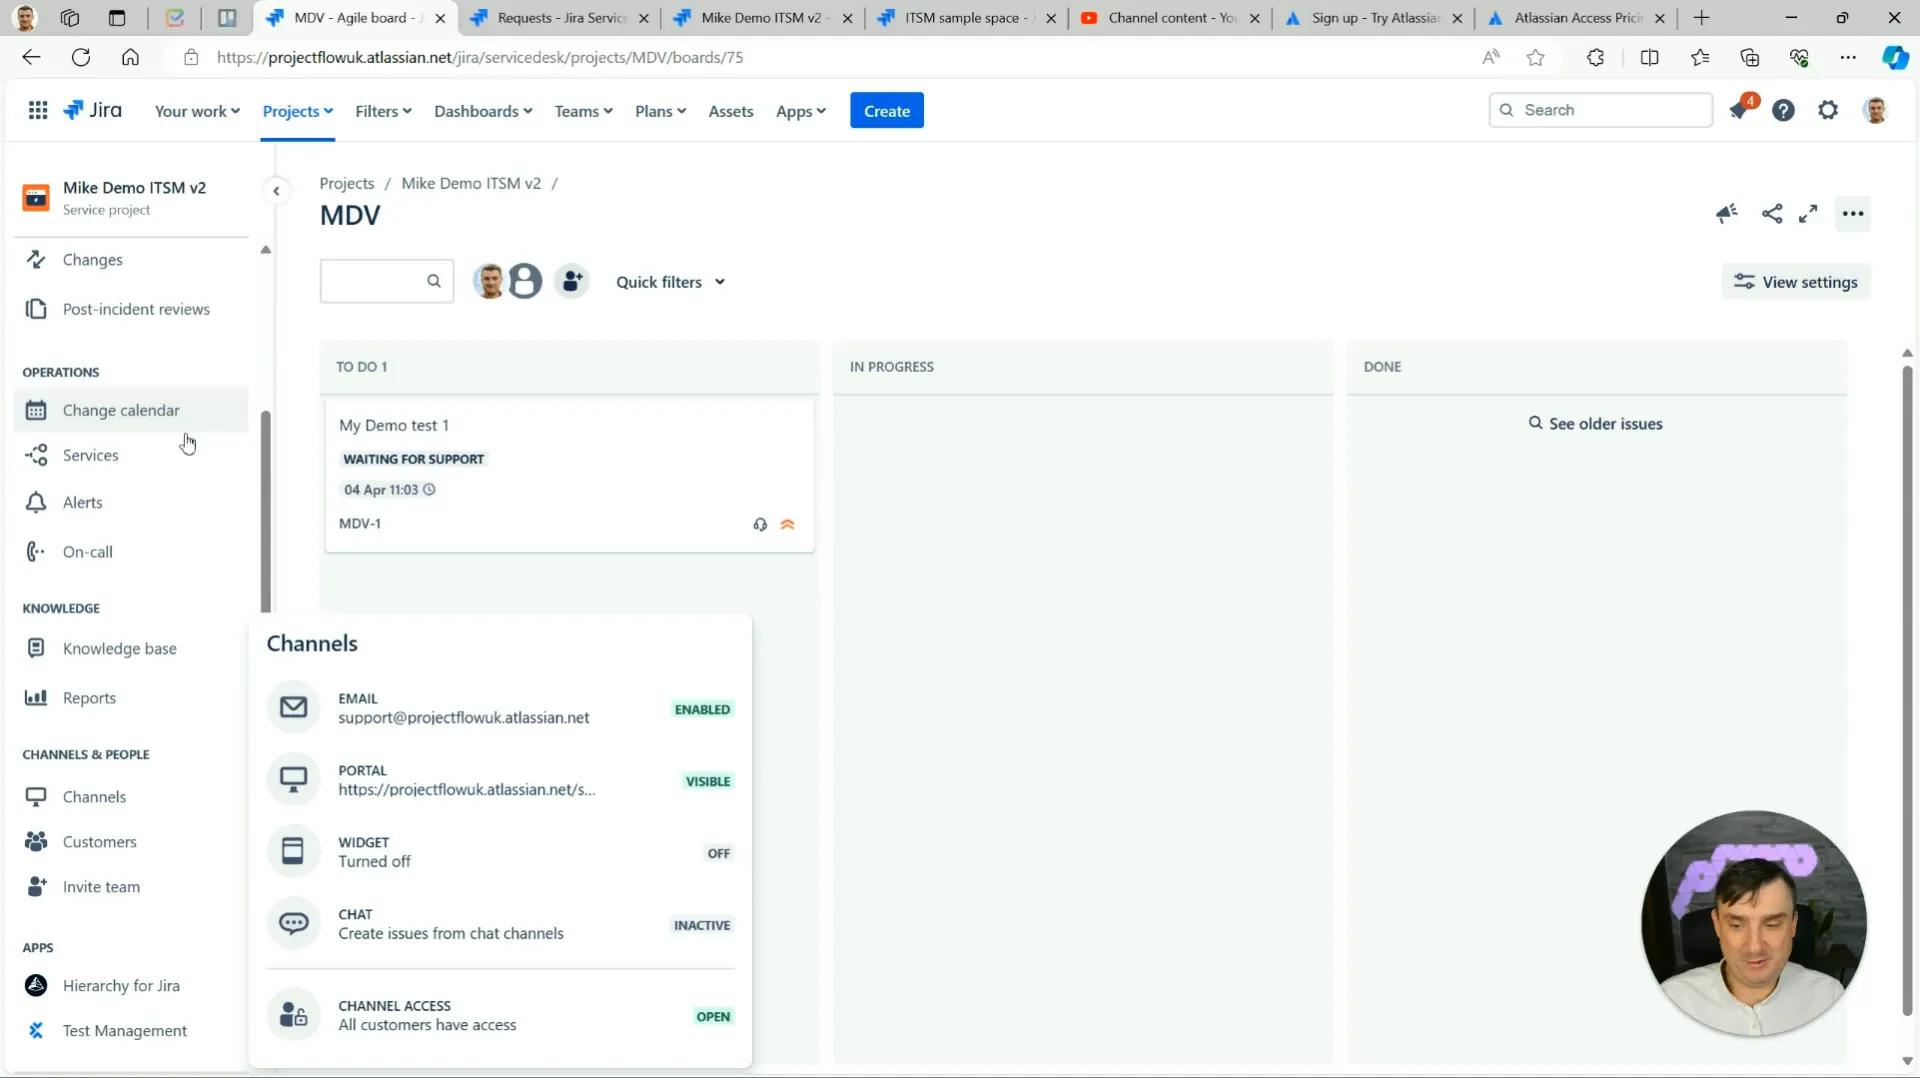
Channels in JSM represent the various methods through which tickets can be created. These include the service portal, email, and integrations with other tools. Understanding these channels is essential for maximizing the utility of JSM.
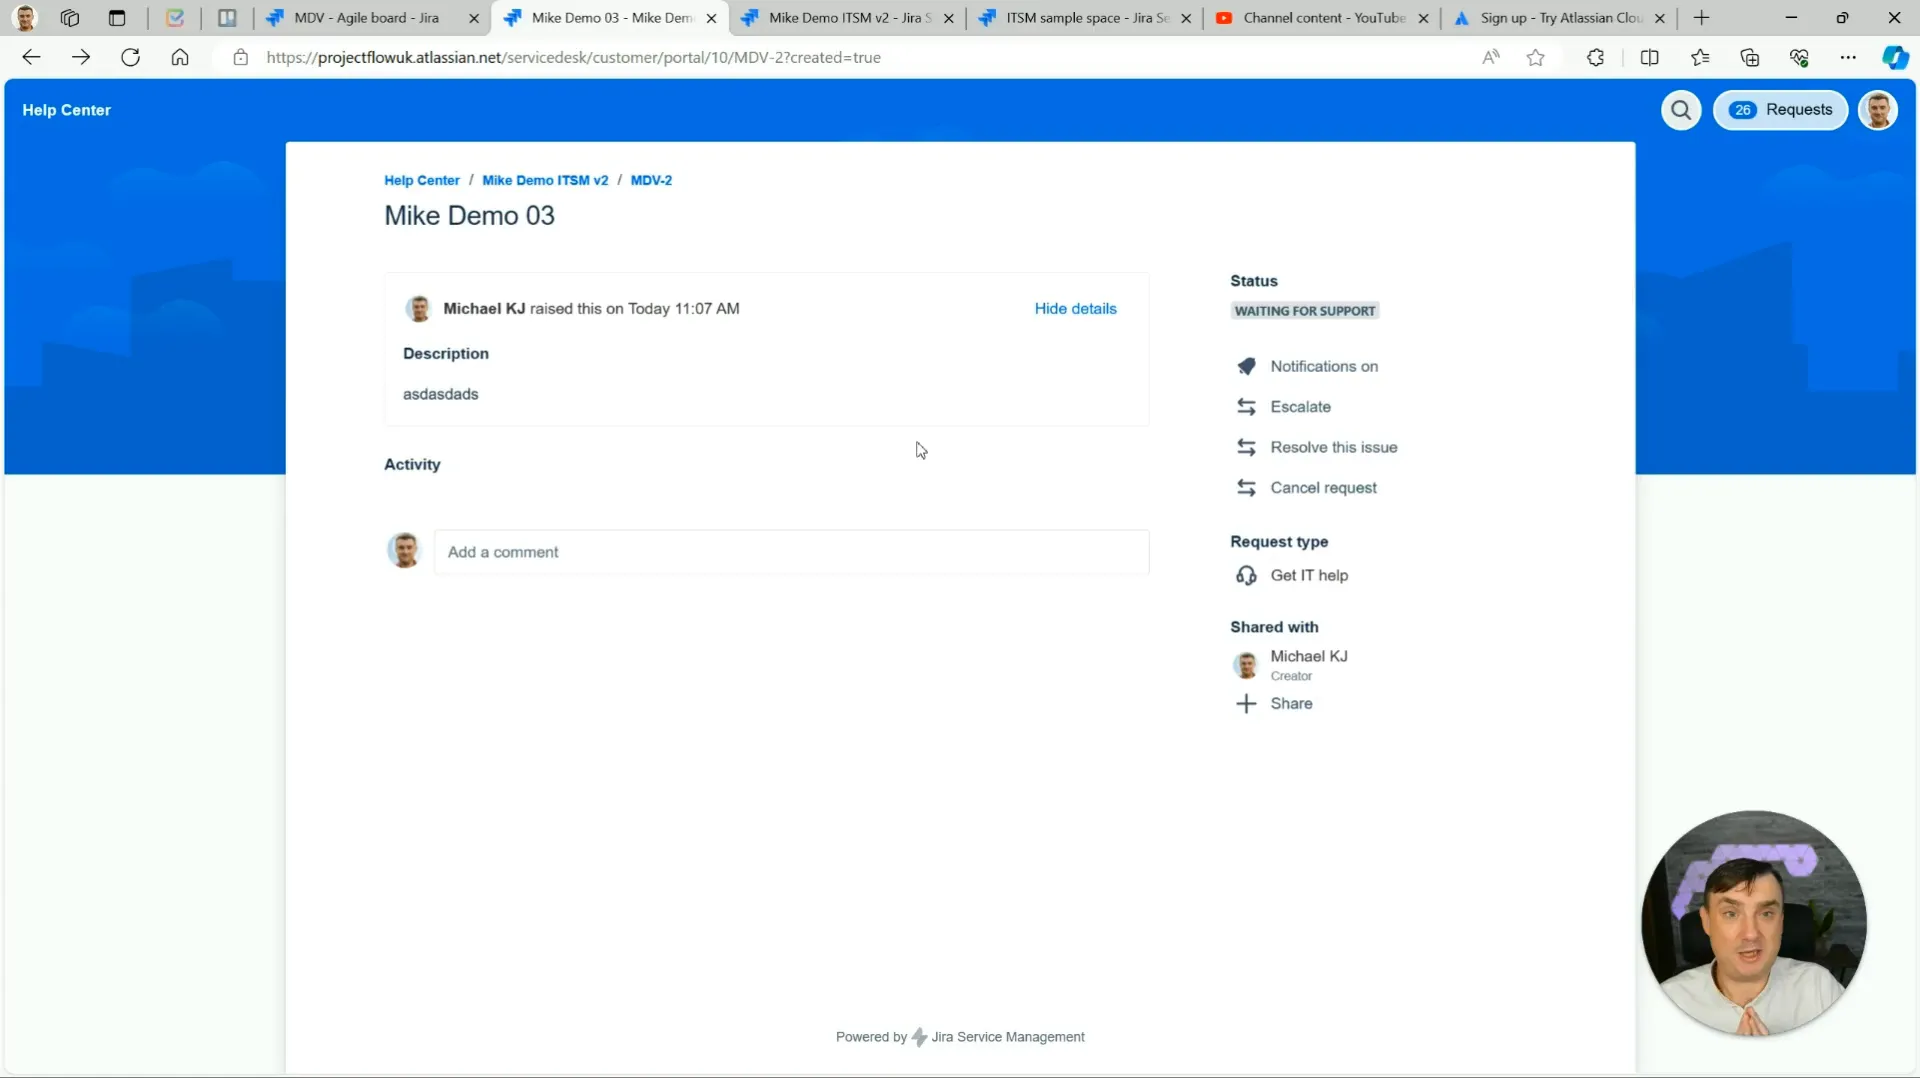
The default channels include a service portal and email integration, allowing users to submit requests through their preferred method. Customizing the service portal is also possible, enabling you to tailor the user experience to match your organization’s branding.
Customizing Your Service Portal
Customization options for the service portal include changing logos, colours, and even the layout of request types. Making these adjustments can enhance user engagement and streamline the ticket submission process.
To customize the portal, navigate to the 'Portal Settings' section in JSM. Here, you can make changes that reflect your company's identity, ensuring that users feel comfortable and familiar when submitting requests.
Leveraging the Knowledge Base for Ticket Resolution
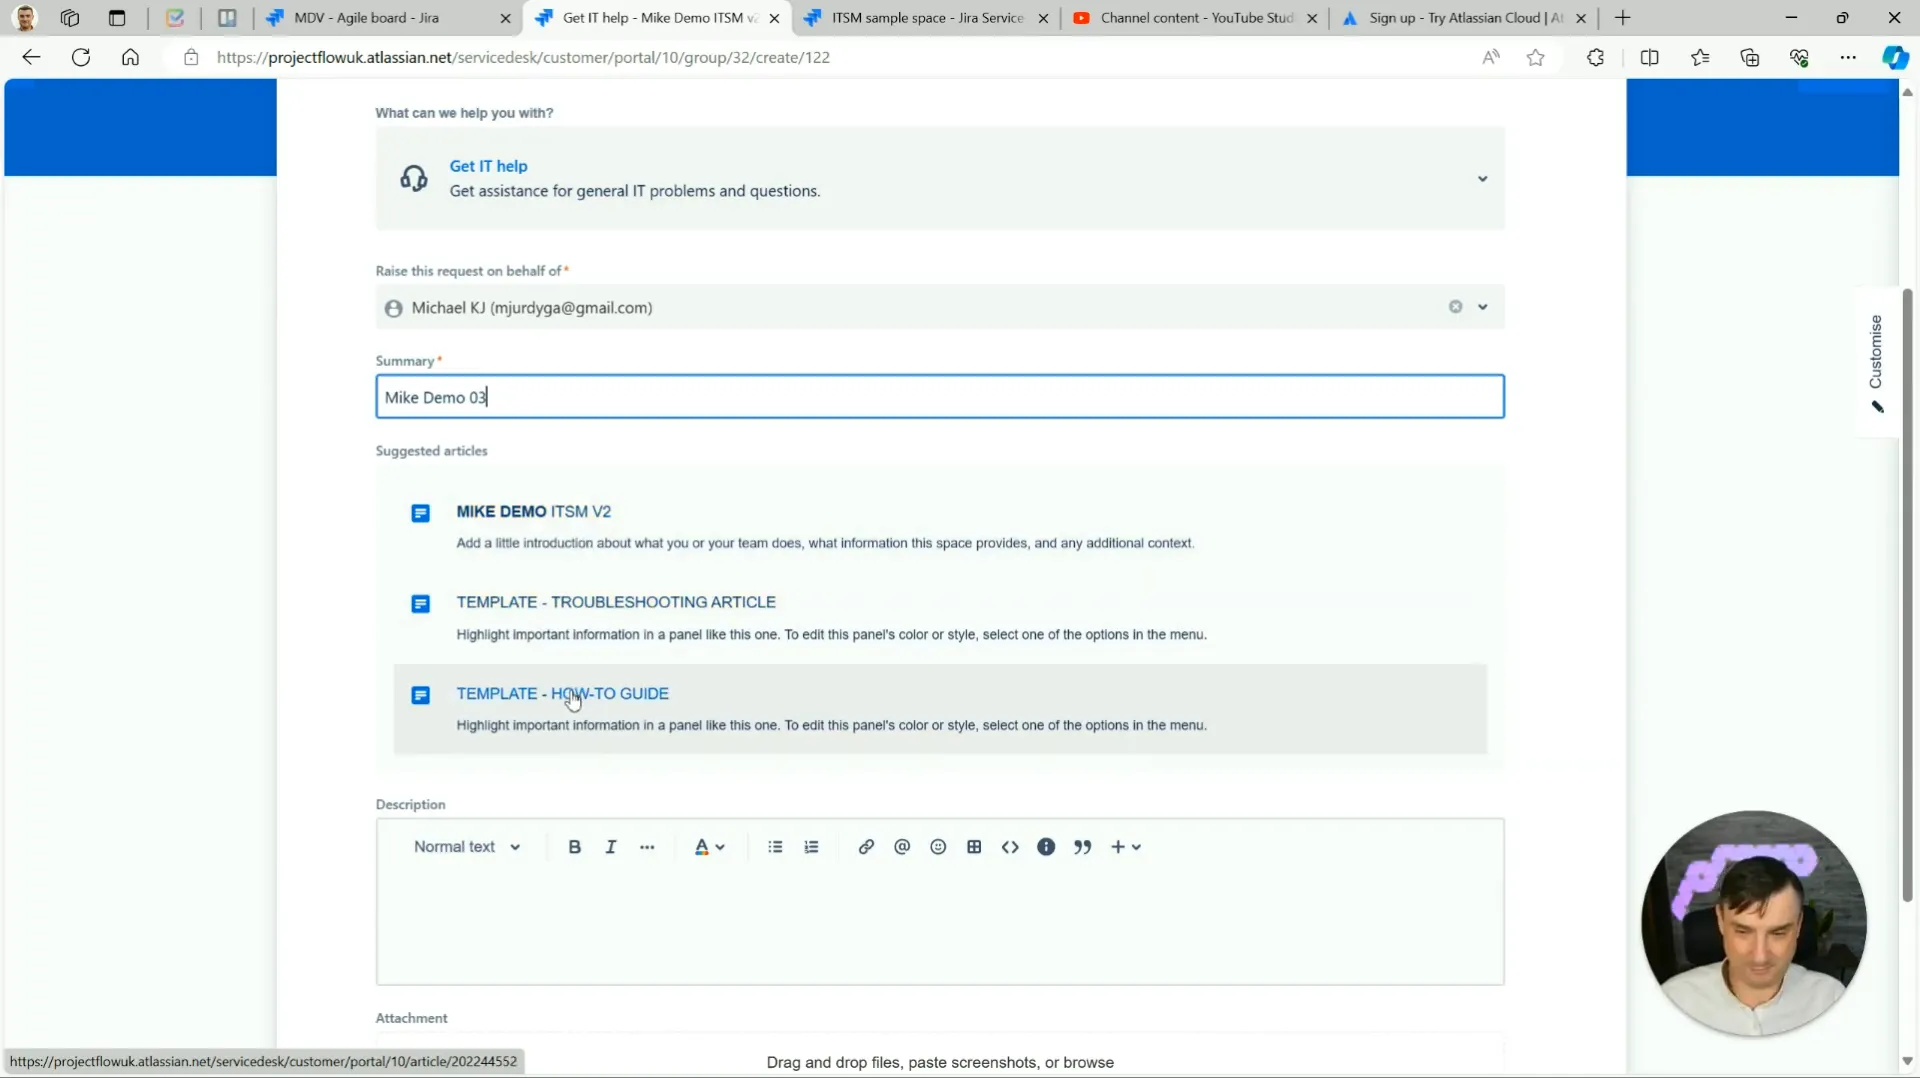
The knowledge base in JSM is a powerful tool that can help reduce ticket volume and improve resolution times. By providing users with access to articles and guides, you can empower them to find solutions independently.
Integrating your knowledge base with JSM allows users to see relevant articles when submitting tickets. This feature can significantly decrease the number of repetitive requests, freeing up agents to focus on more complex issues.
Creating Effective Knowledge Base Articles
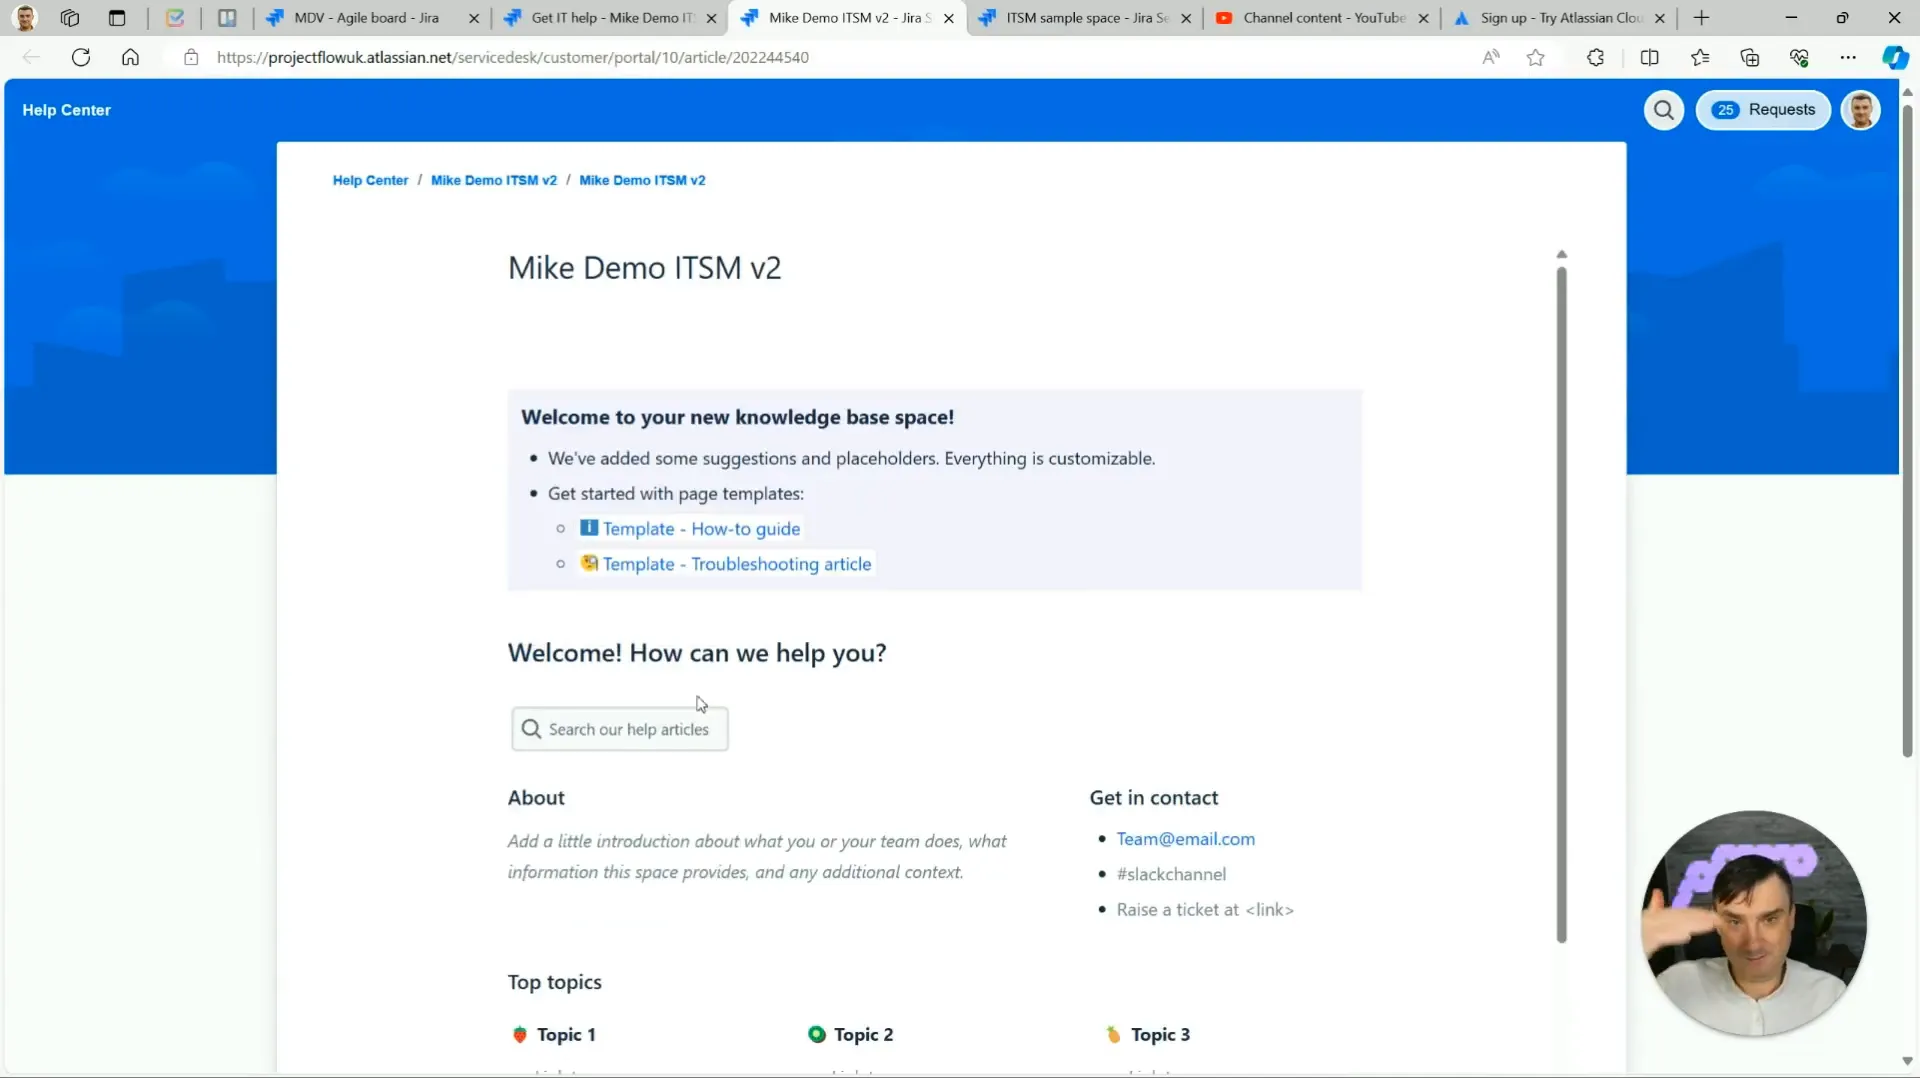
To maximize the effectiveness of your knowledge base, ensure that articles are clear, concise, and easy to navigate. Use headings, bullet points, and images to enhance readability and engagement.
Regularly updating your knowledge base is crucial as well. As new issues arise or processes change, ensure that your articles reflect the most current information. This practice not only supports users but also reduces the workload on your support team.
Understanding Organizations and Portal Access
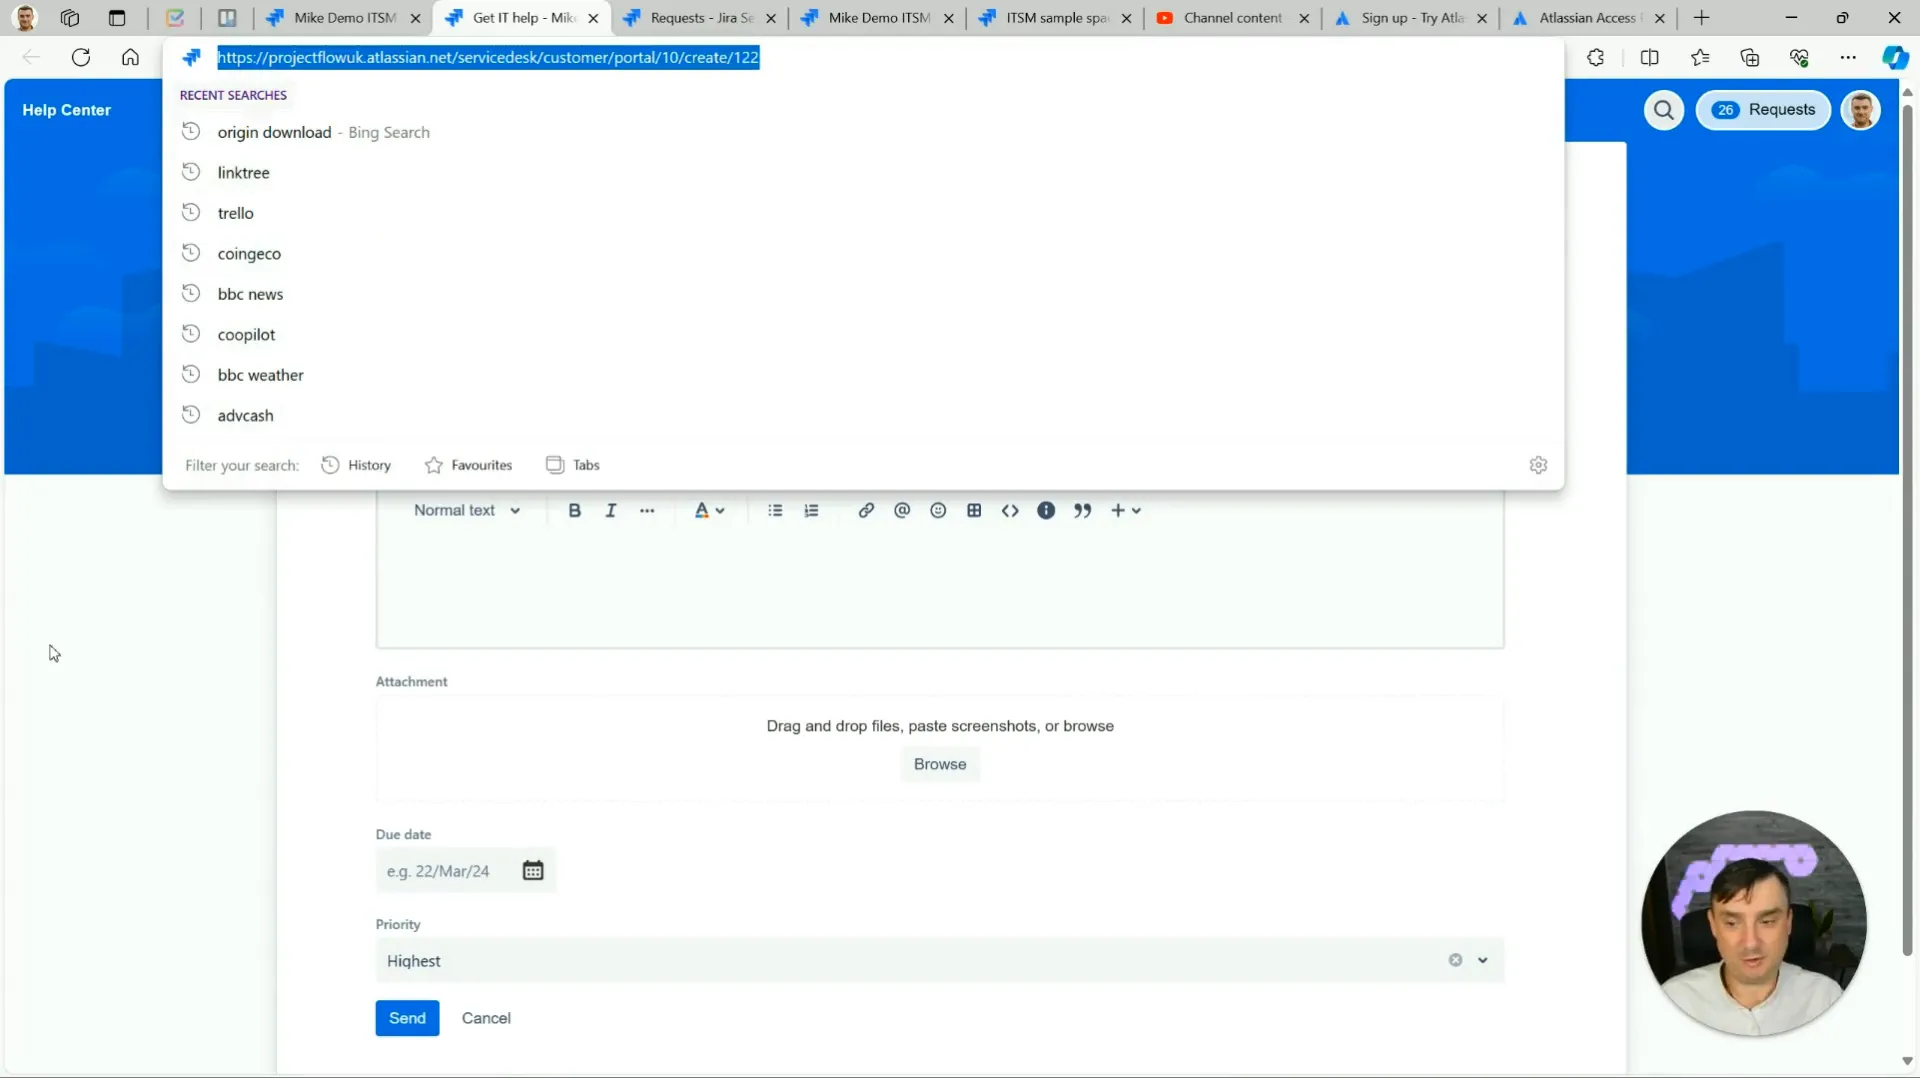
In JSM, organizations play a pivotal role in managing user access to the service portal. By grouping users into organizations, you can control who can view and submit tickets, enhancing security and organization.
To set up organizations, navigate to the 'Customers' section in JSM. Here, you can create new organizations and add users accordingly. This feature is particularly useful for companies with multiple clients or departments, allowing for tailored access to the service portal.
Configuring Access Permissions
Configuring access permissions is essential to ensure that only authorized users can submit requests or view tickets. JSM allows you to set permissions at both the organization and individual user levels, providing flexibility in managing access.
When setting permissions, consider the needs of your users. For example, if certain users require access to specific ticket types or information, ensure these permissions are granted to facilitate smooth operations.
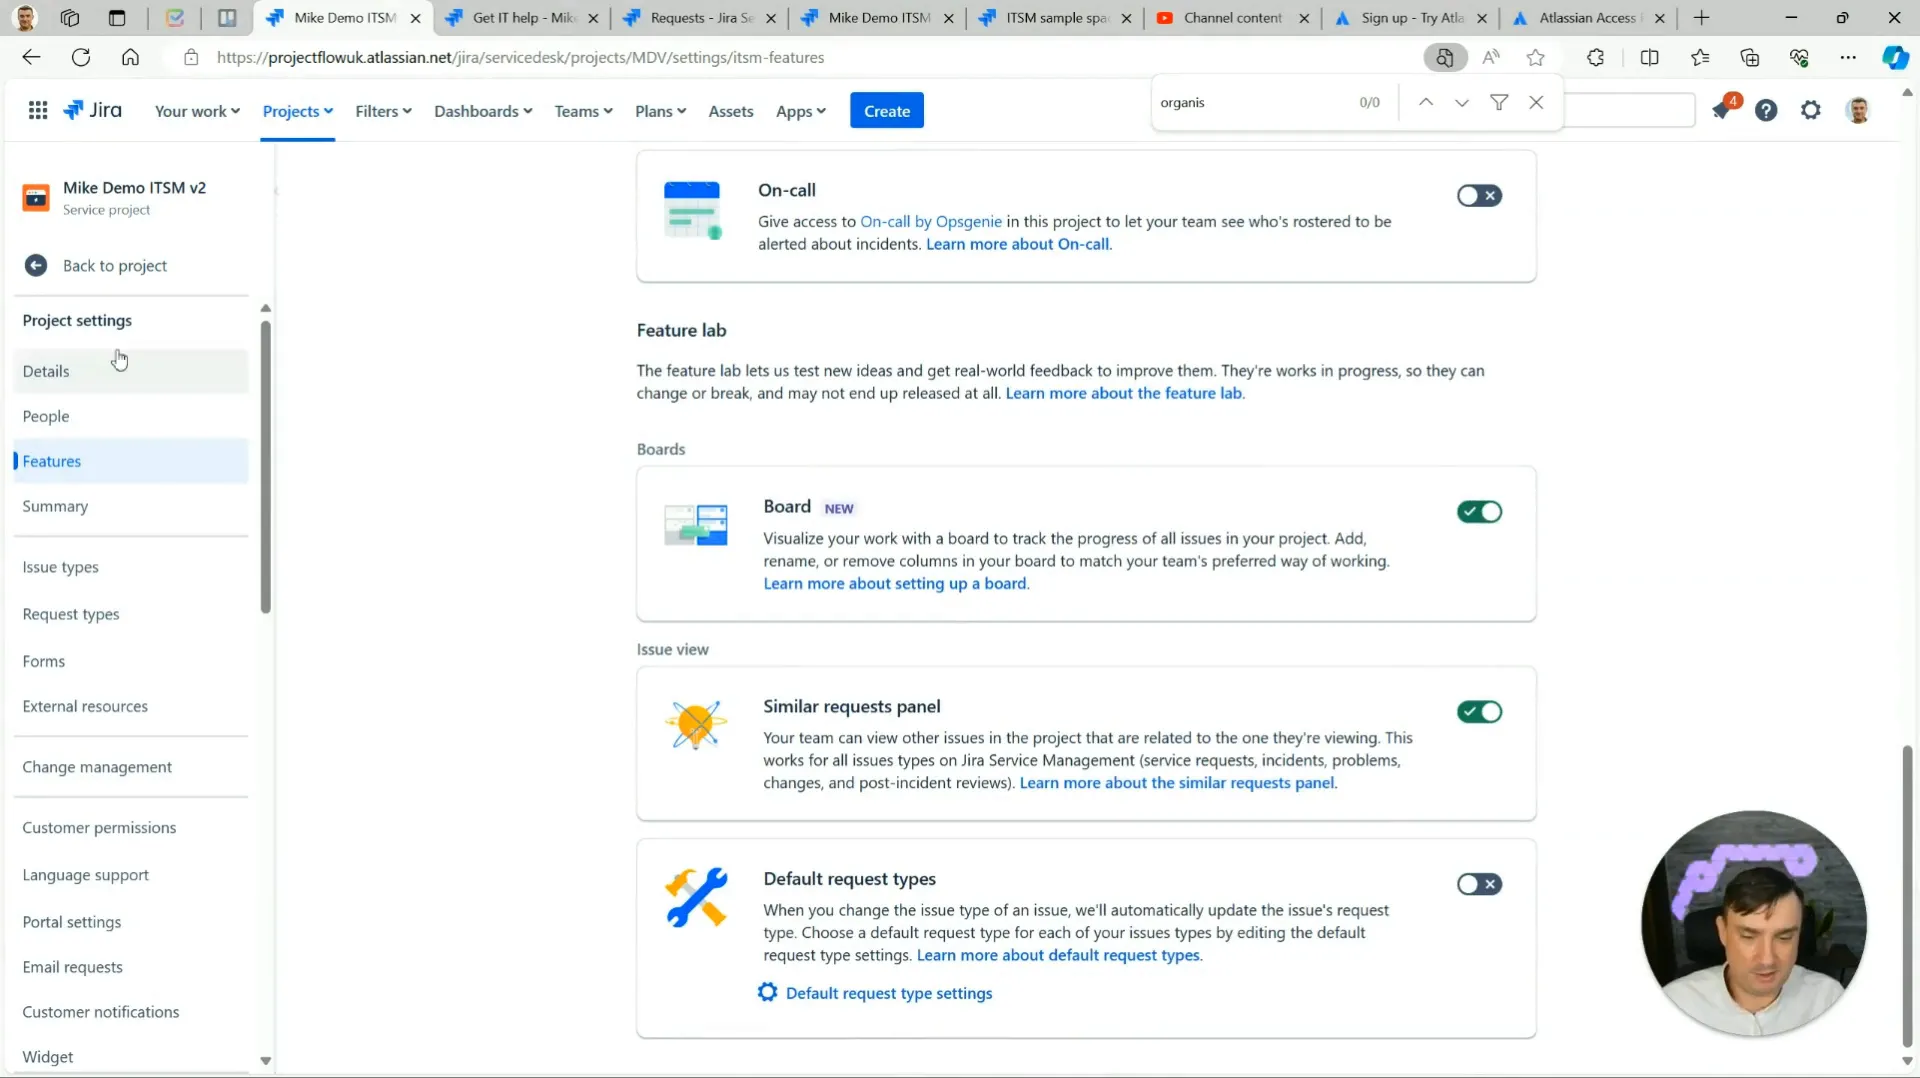
Project Settings Deep Dive: Request Types and Automation
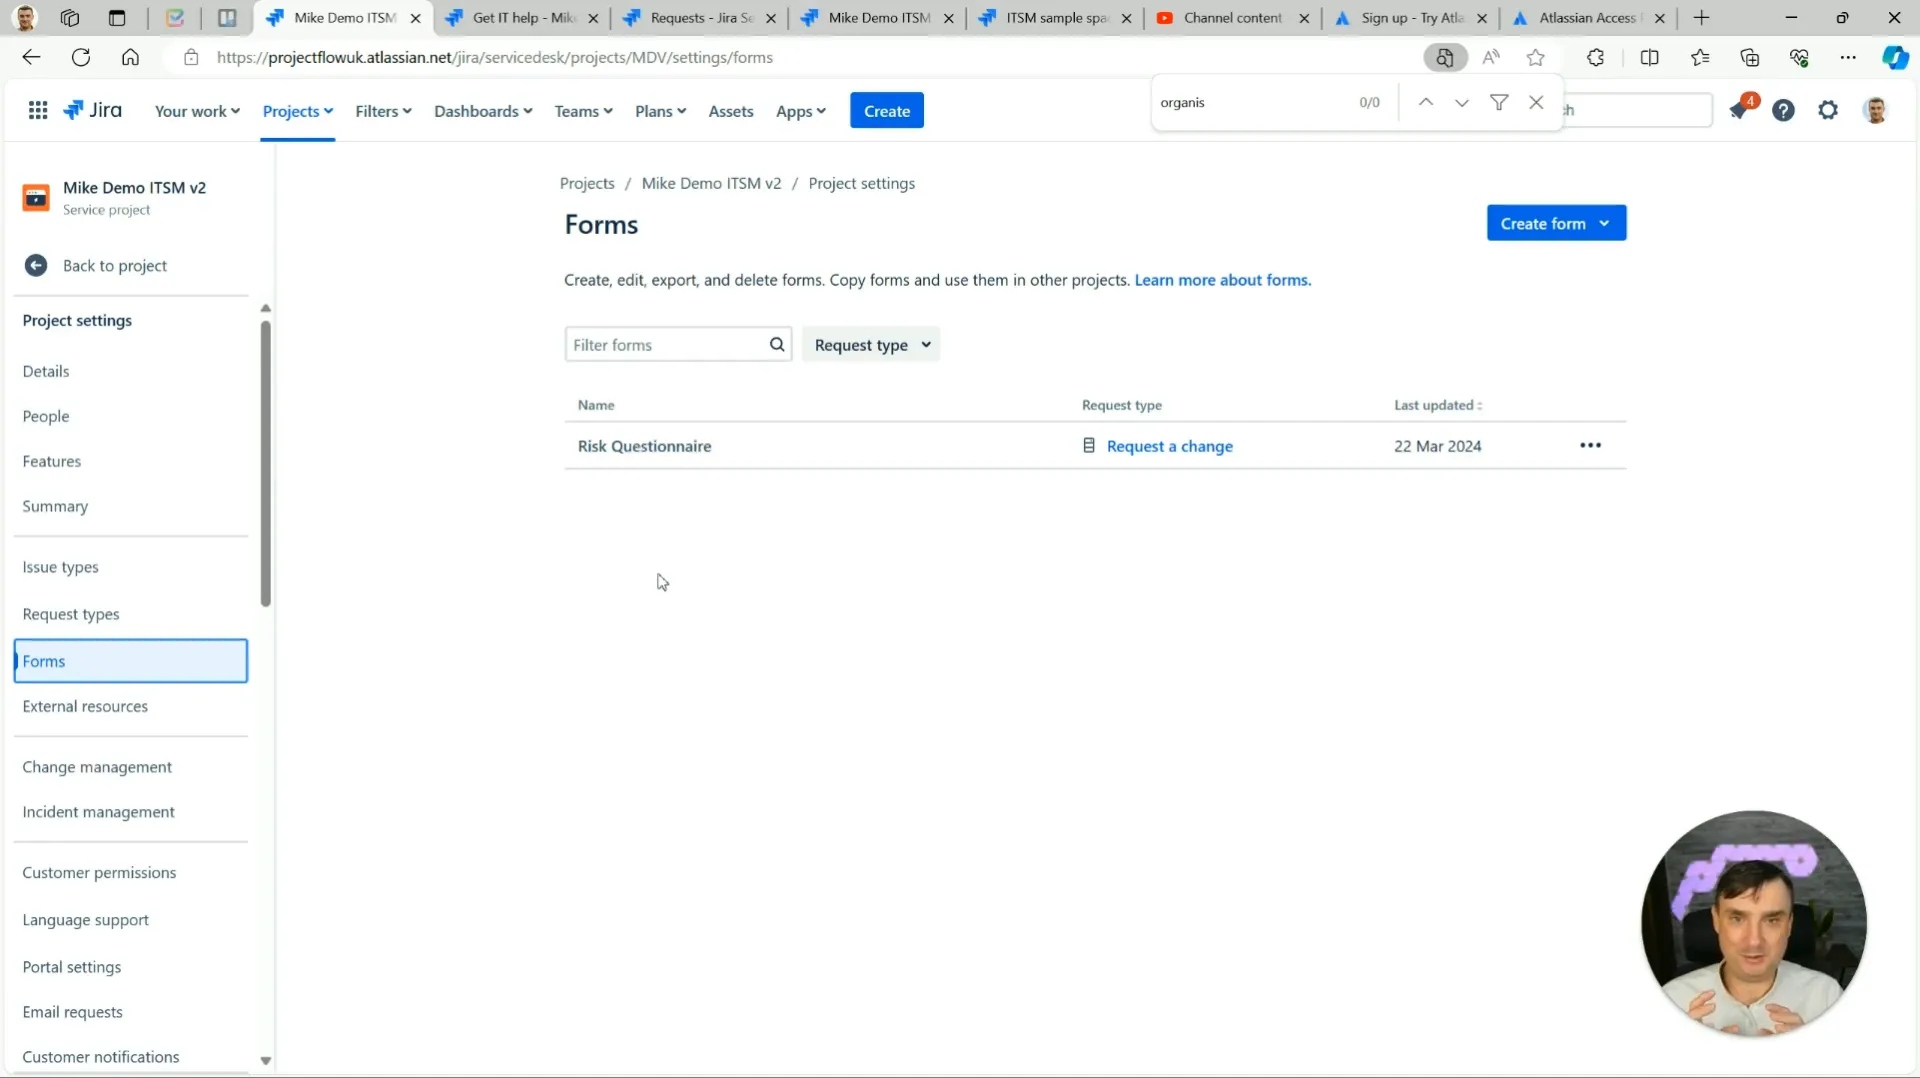
Diving deeper into project settings reveals the intricacies of managing request types and automations. Understanding these elements is crucial for optimizing your JSM instance.
Request types can be configured to match your team's workflows, allowing for tailored fields and options based on the nature of the request. This configuration ensures that agents have all necessary information upfront, streamlining the resolution process.
Setting Up Automations
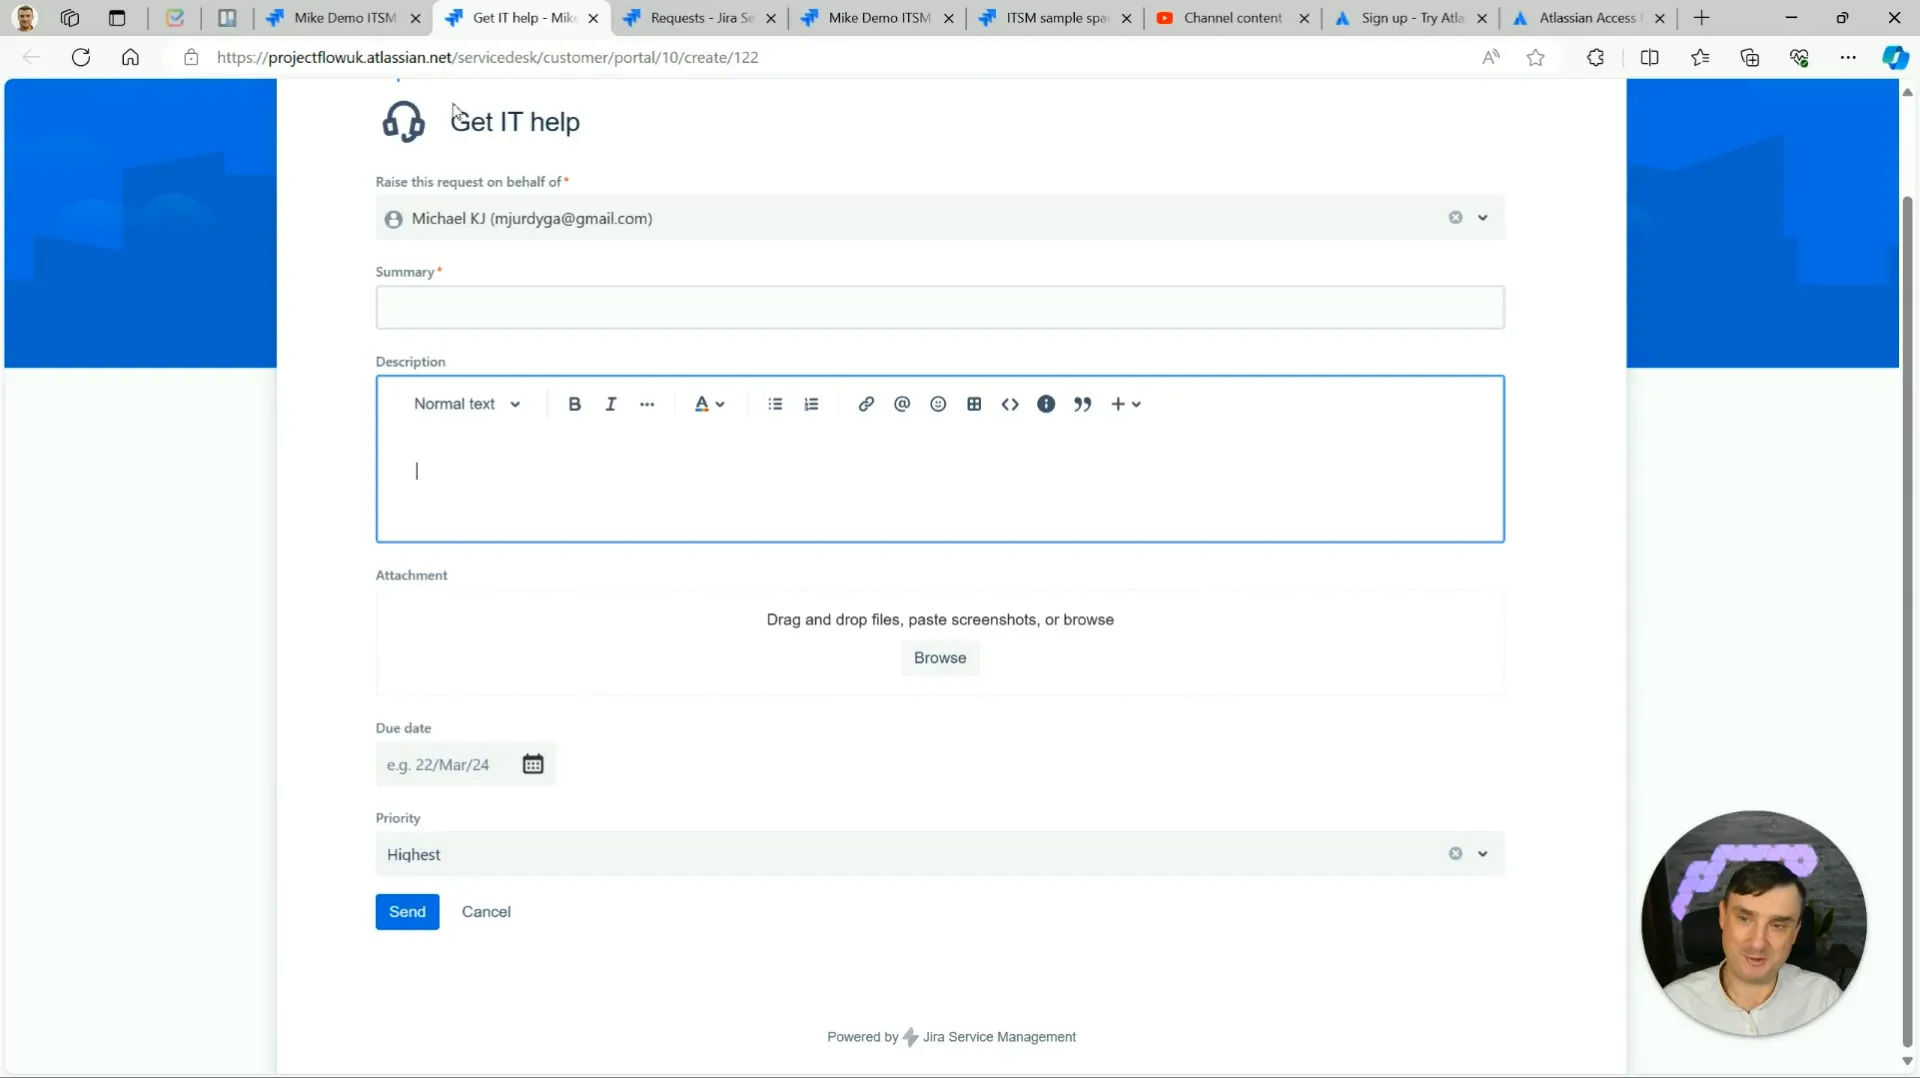
Automation in JSM can save time and reduce manual effort. By setting up rules for common actions, you can ensure that tickets are managed efficiently without constant oversight.
To create automations, navigate to the 'Automation' section in project settings. Here, you can define triggers, conditions, and actions that align with your team's needs. Examples include automatically assigning tickets to specific agents based on keywords or sending reminders for overdue tasks.
Backend Overview: Navigating the Agent Perspective
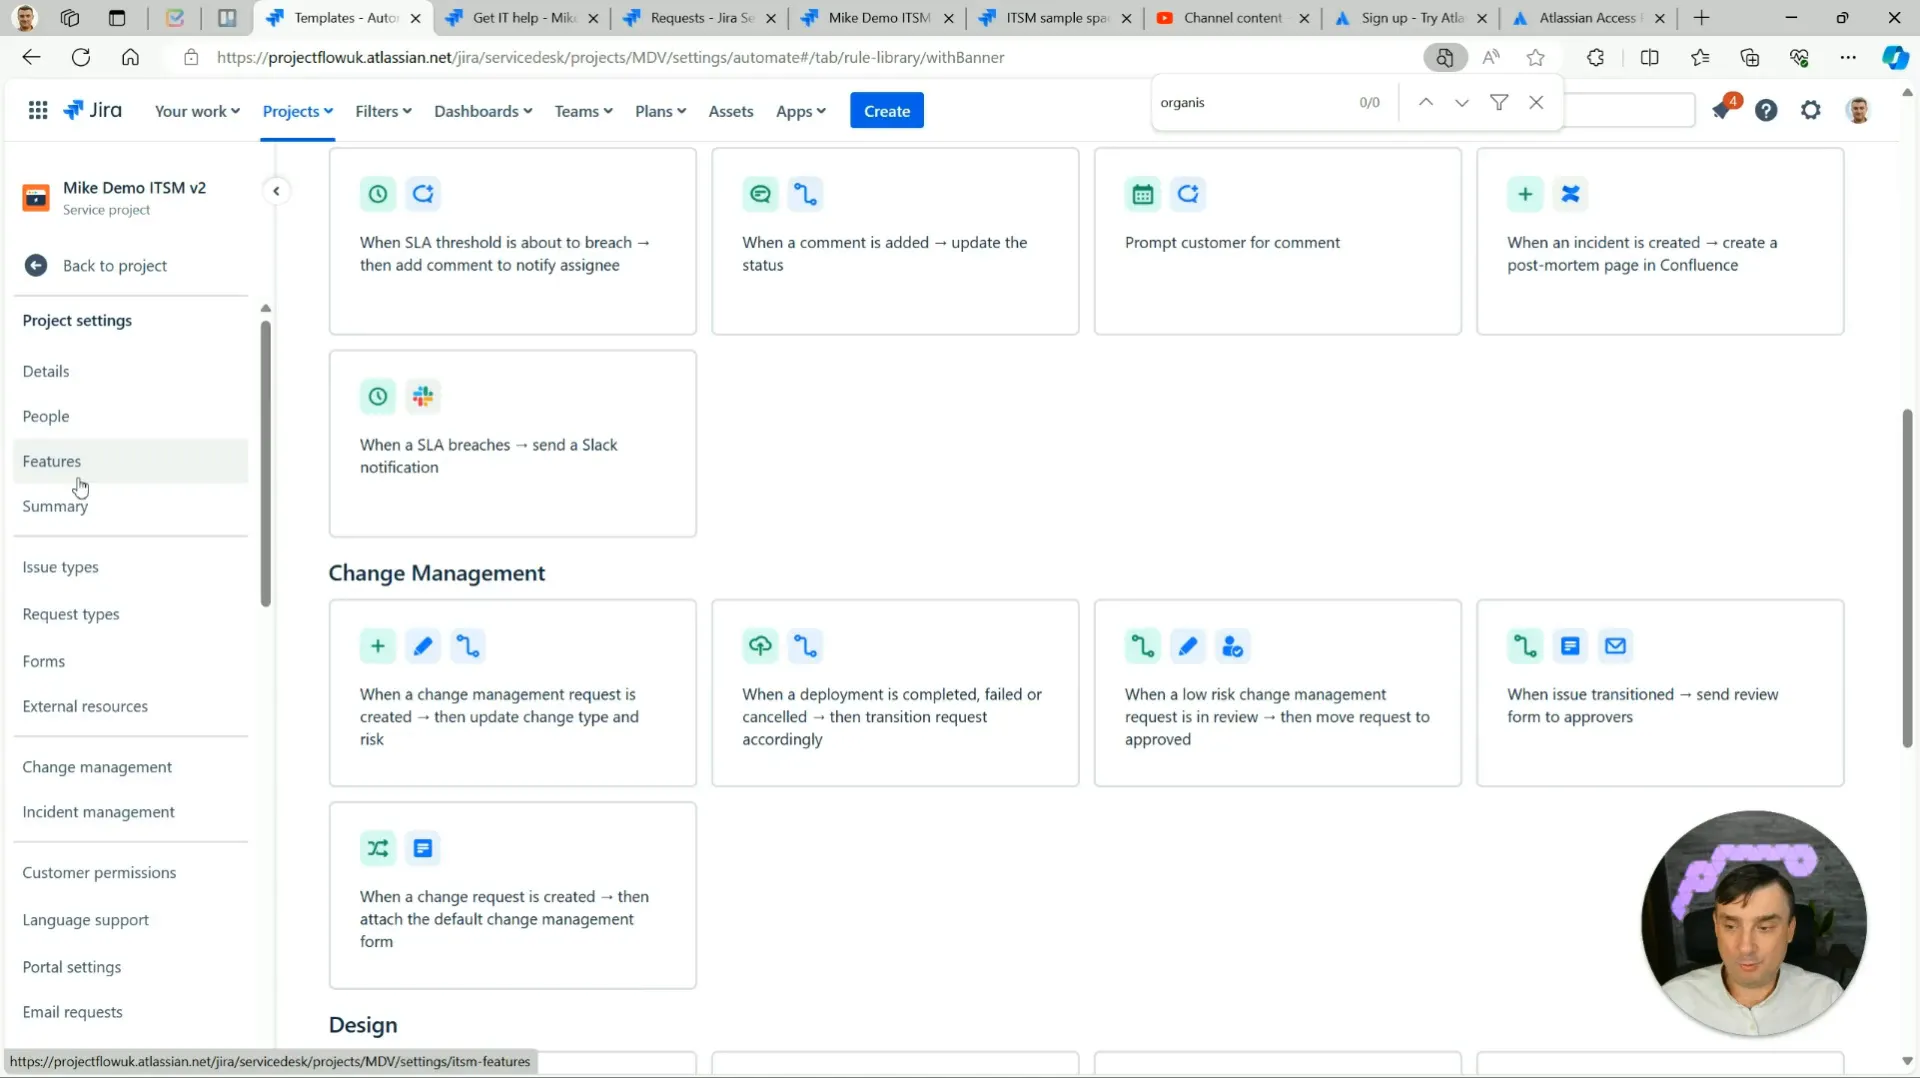
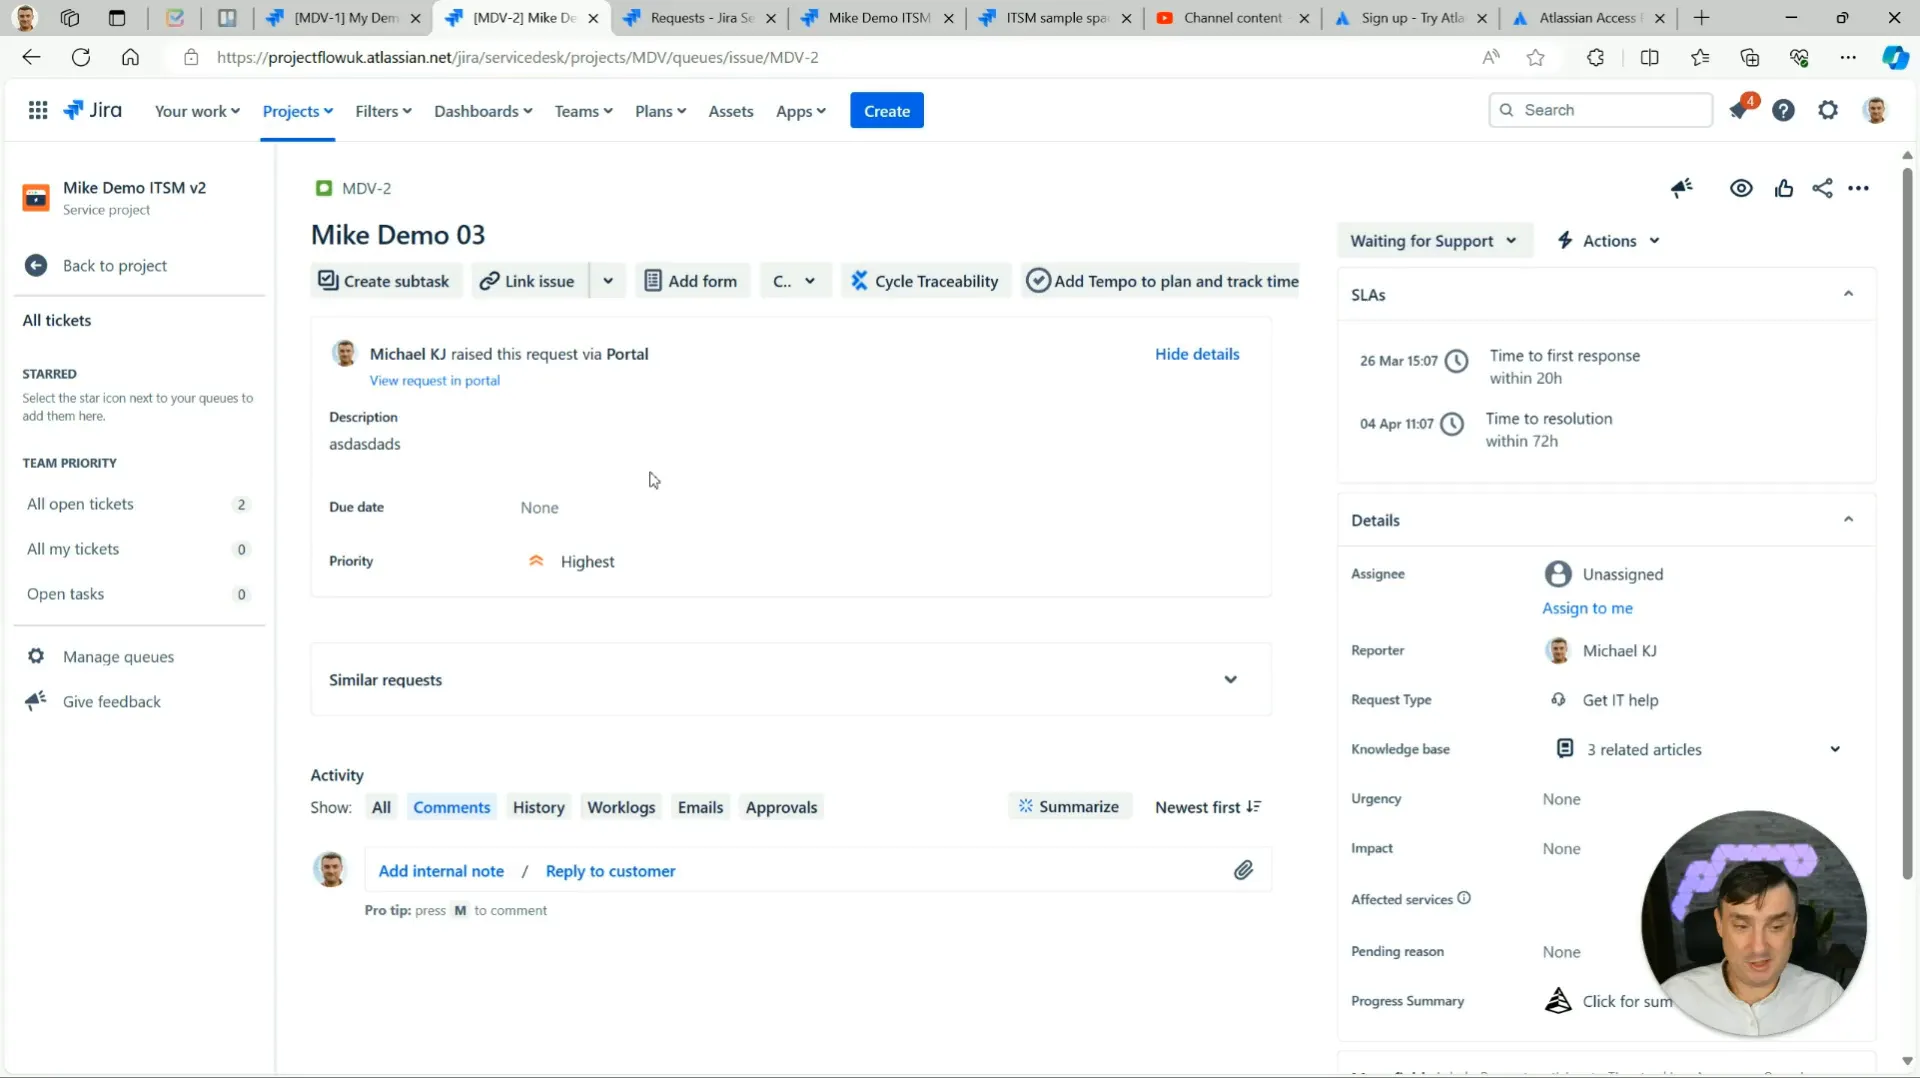
Understanding the backend of JSM from the agent's perspective is vital for effective ticket management. Agents can view and respond to tickets through a dedicated interface that provides all necessary information at a glance.
When an agent clicks on a ticket, they can see detailed information, including the ticket's history, comments, and any relevant attachments. This comprehensive view allows agents to make informed decisions quickly.
Commenting and Collaboration
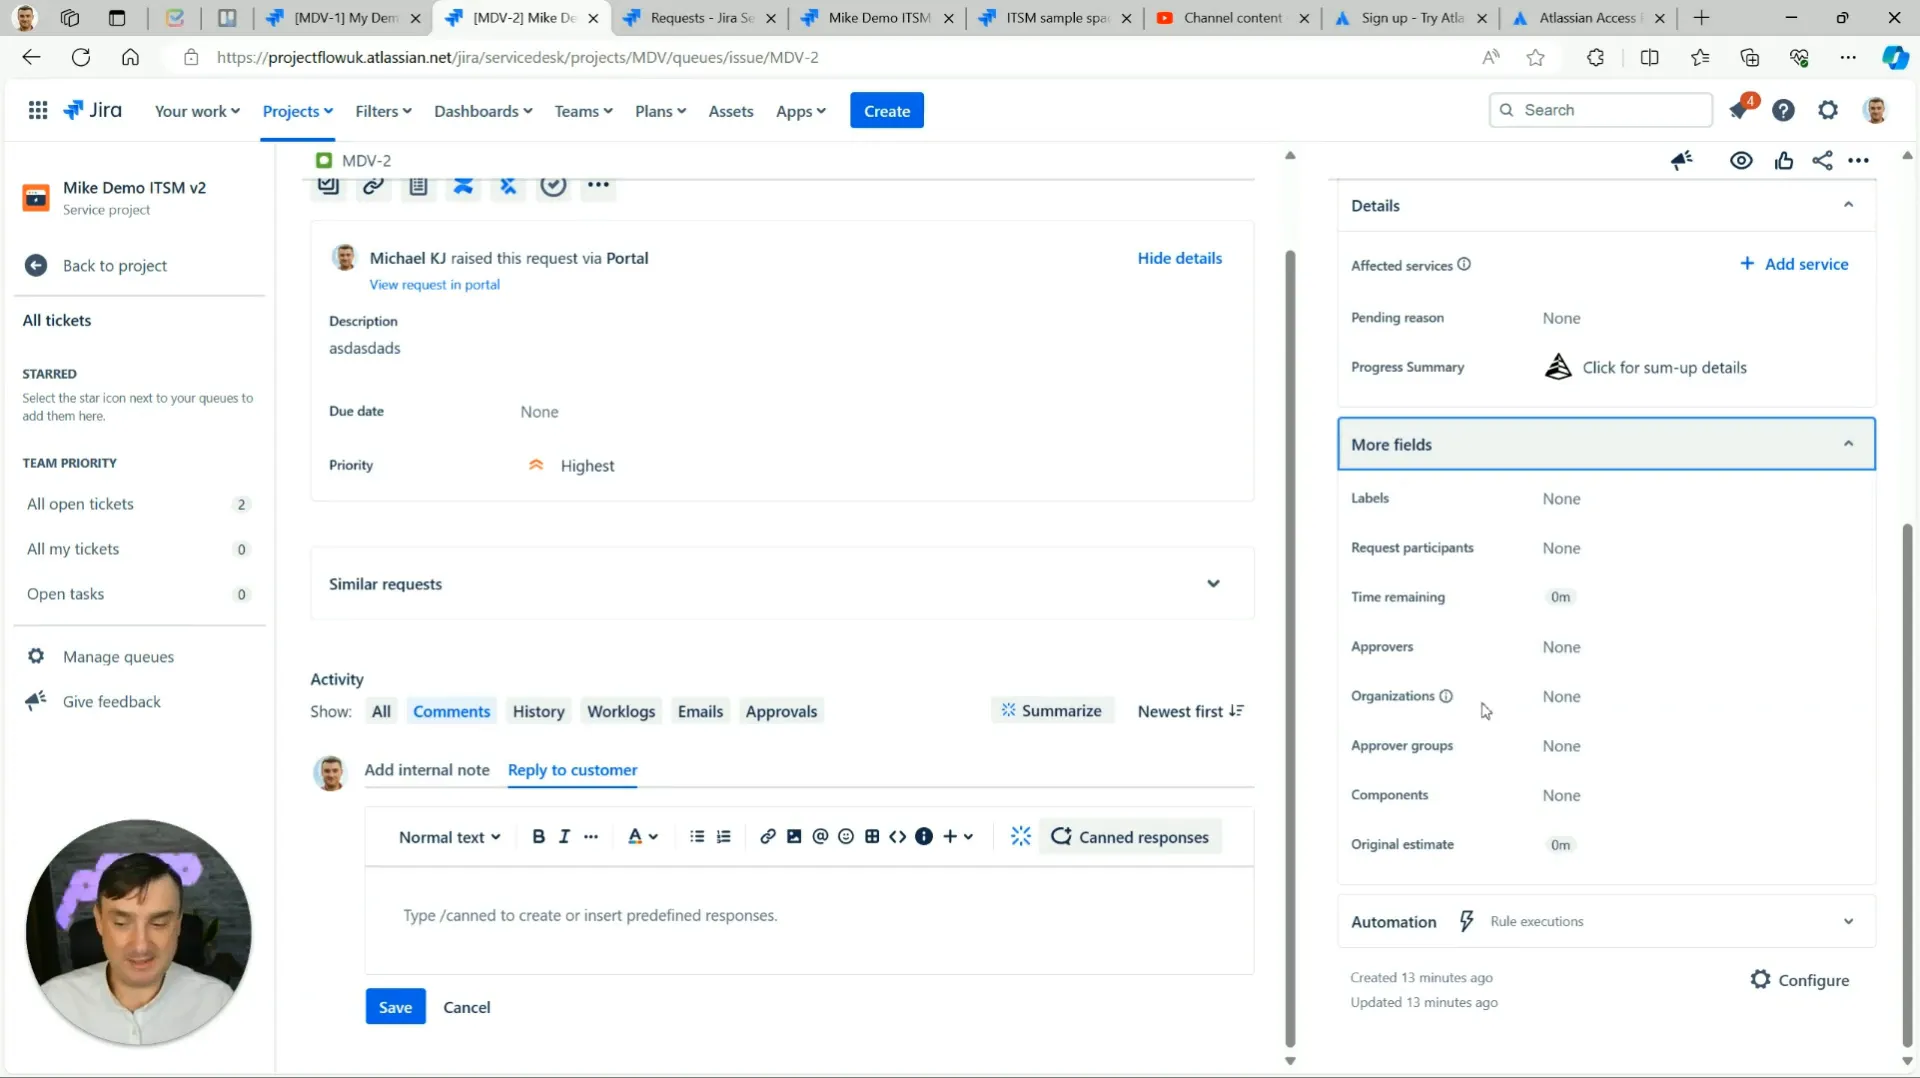
Collaboration among agents is crucial for efficient ticket resolution. JSM allows agents to add internal comments, tag colleagues, and share insights directly within the ticket interface.
This feature not only enhances communication but also ensures that all relevant information is captured in one place, making it easier for agents to work together on complex issues.
Wrapping Up and What's Next
As we've explored, Jira Service Management offers a robust set of features designed to enhance service delivery. From ticket creation to advanced automation, understanding these elements is key to maximizing your JSM experience.
In the next sections, we will address frequently asked questions and provide additional resources to help you navigate JSM effectively. Stay tuned for more insights and tips!
FAQ
As we wrap up our exploration of Jira Service Management, let's address some common questions users often have:
- What is the best way to create tickets? Use the service portal for a user-friendly experience, or email for quick submissions.
- How can I customize my service portal? Navigate to portal settings to change logos, colours, and request types.
- What are organizations in JSM? Organizations group users for tailored access to the service portal.
- Can I automate ticket assignments? Yes, set up automation rules in the project settings to streamline ticket management.


