Jira Kanban Setup Like a Pro: Free Jira Cloud Tricks! 🚀

Are you curious about how to set up your Jira Kanban project like a pro? 🤔 Well, you’ve come to the right place! In this blog post, we're diving deep into the world of Jira Kanban. Whether you're a beginner or looking to refine your skills, this guide is packed with useful tips, tricks, and insights to help you master your Kanban board setup.
Table of Contents
- Getting Started with Your Kanban Project 🌟
- Creating and Configuring Your Kanban Board 🛠️
- Adding Tickets and Managing Your Backlog 📋
- Separating Backlog from Your Board 🔍
- Understanding the Simplified Workflow 🔄
- Adding Custom Statuses to Your Board 📝
- Common Issues and Troubleshooting ⚠️
- Advanced Tips for Optimizing Your Kanban Board 💡
- Frequently Asked Questions ❓
- Ready to Dive Deeper? 📚
Getting Started with Your Kanban Project 🌟
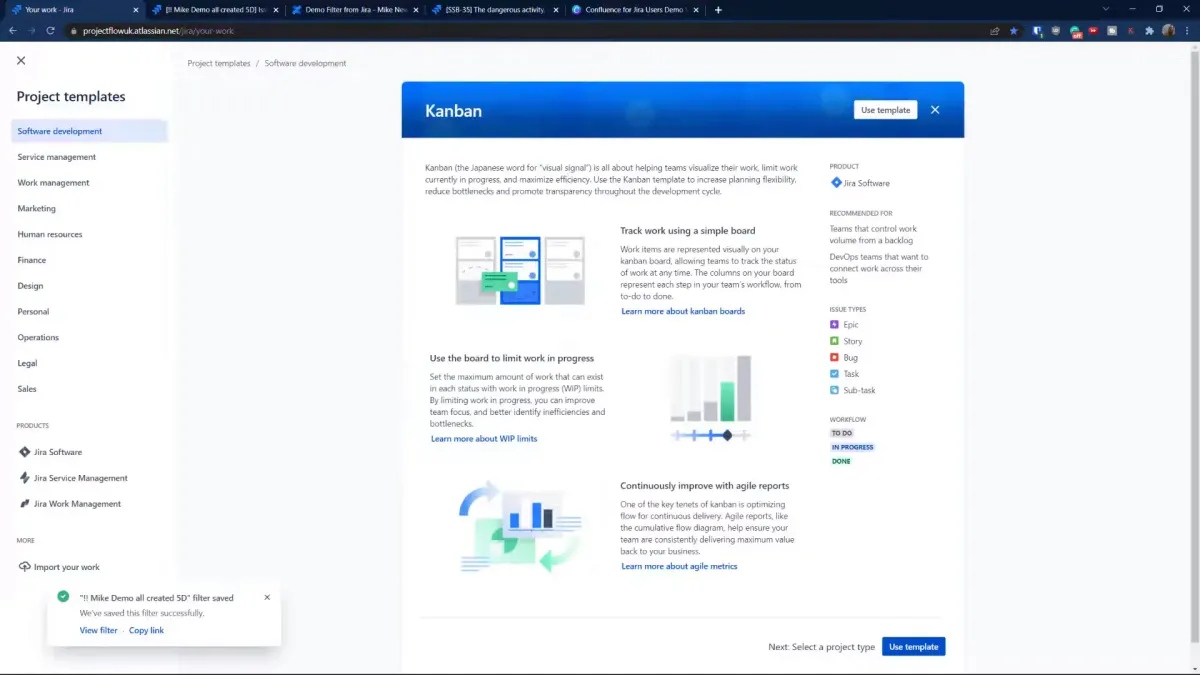
First things first, let’s create your Kanban project! Head over to the top menu and select "Projects." From there, click on "Create Project," select the Kanban option, and use a template. Jira Cloud offers two types: company-managed and team-managed projects. For our purposes, we'll be using the company-managed template.

Creating and Configuring Your Kanban Board 🛠️
Once you've set up your project, it’s time to configure your Kanban board. By default, Jira creates a simplified workflow, meaning you can drag issues from any column to another. This is a great starting point, but let’s optimize it further!
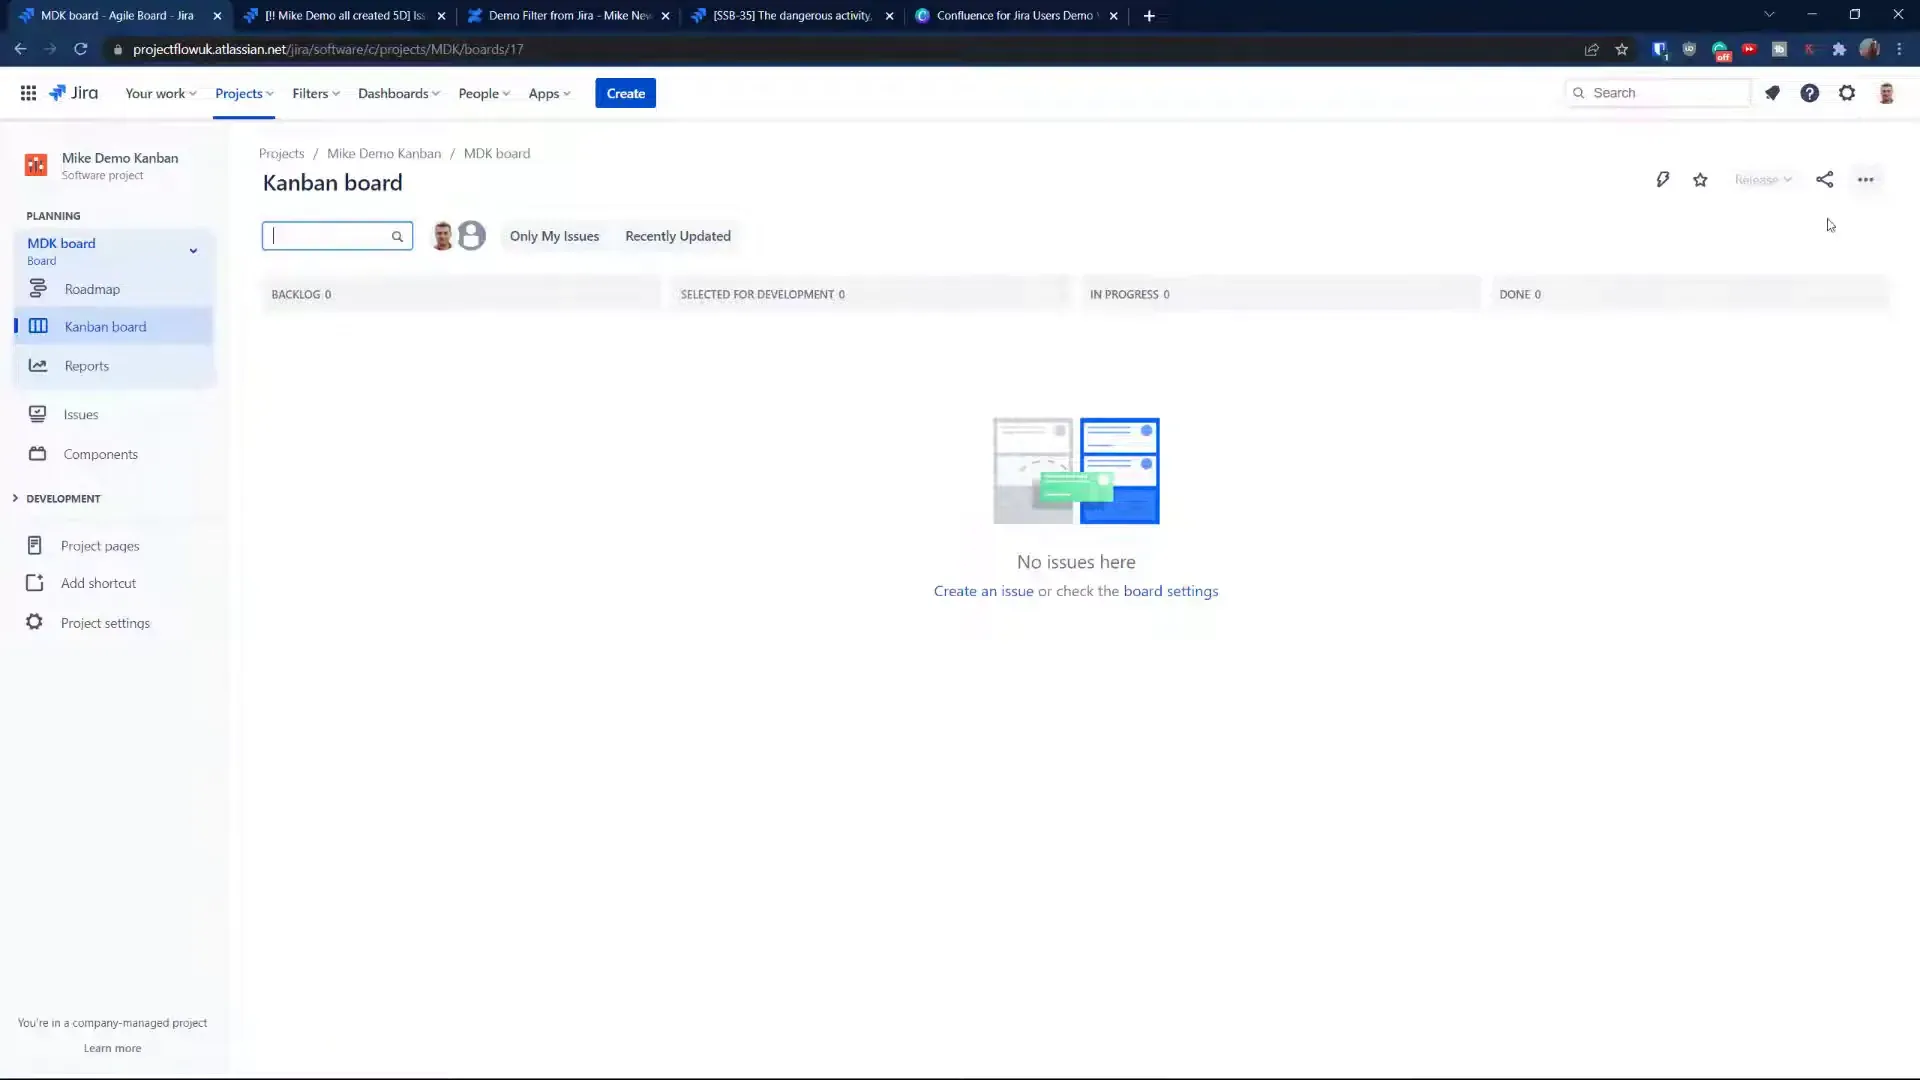
Adding Tickets and Managing Your Backlog 📋
Now, let’s add some tickets. You can create different types of issues like stories, tasks, and bugs. Each time you create an issue, it will land in the backlog, which is a crucial part of your Kanban setup.

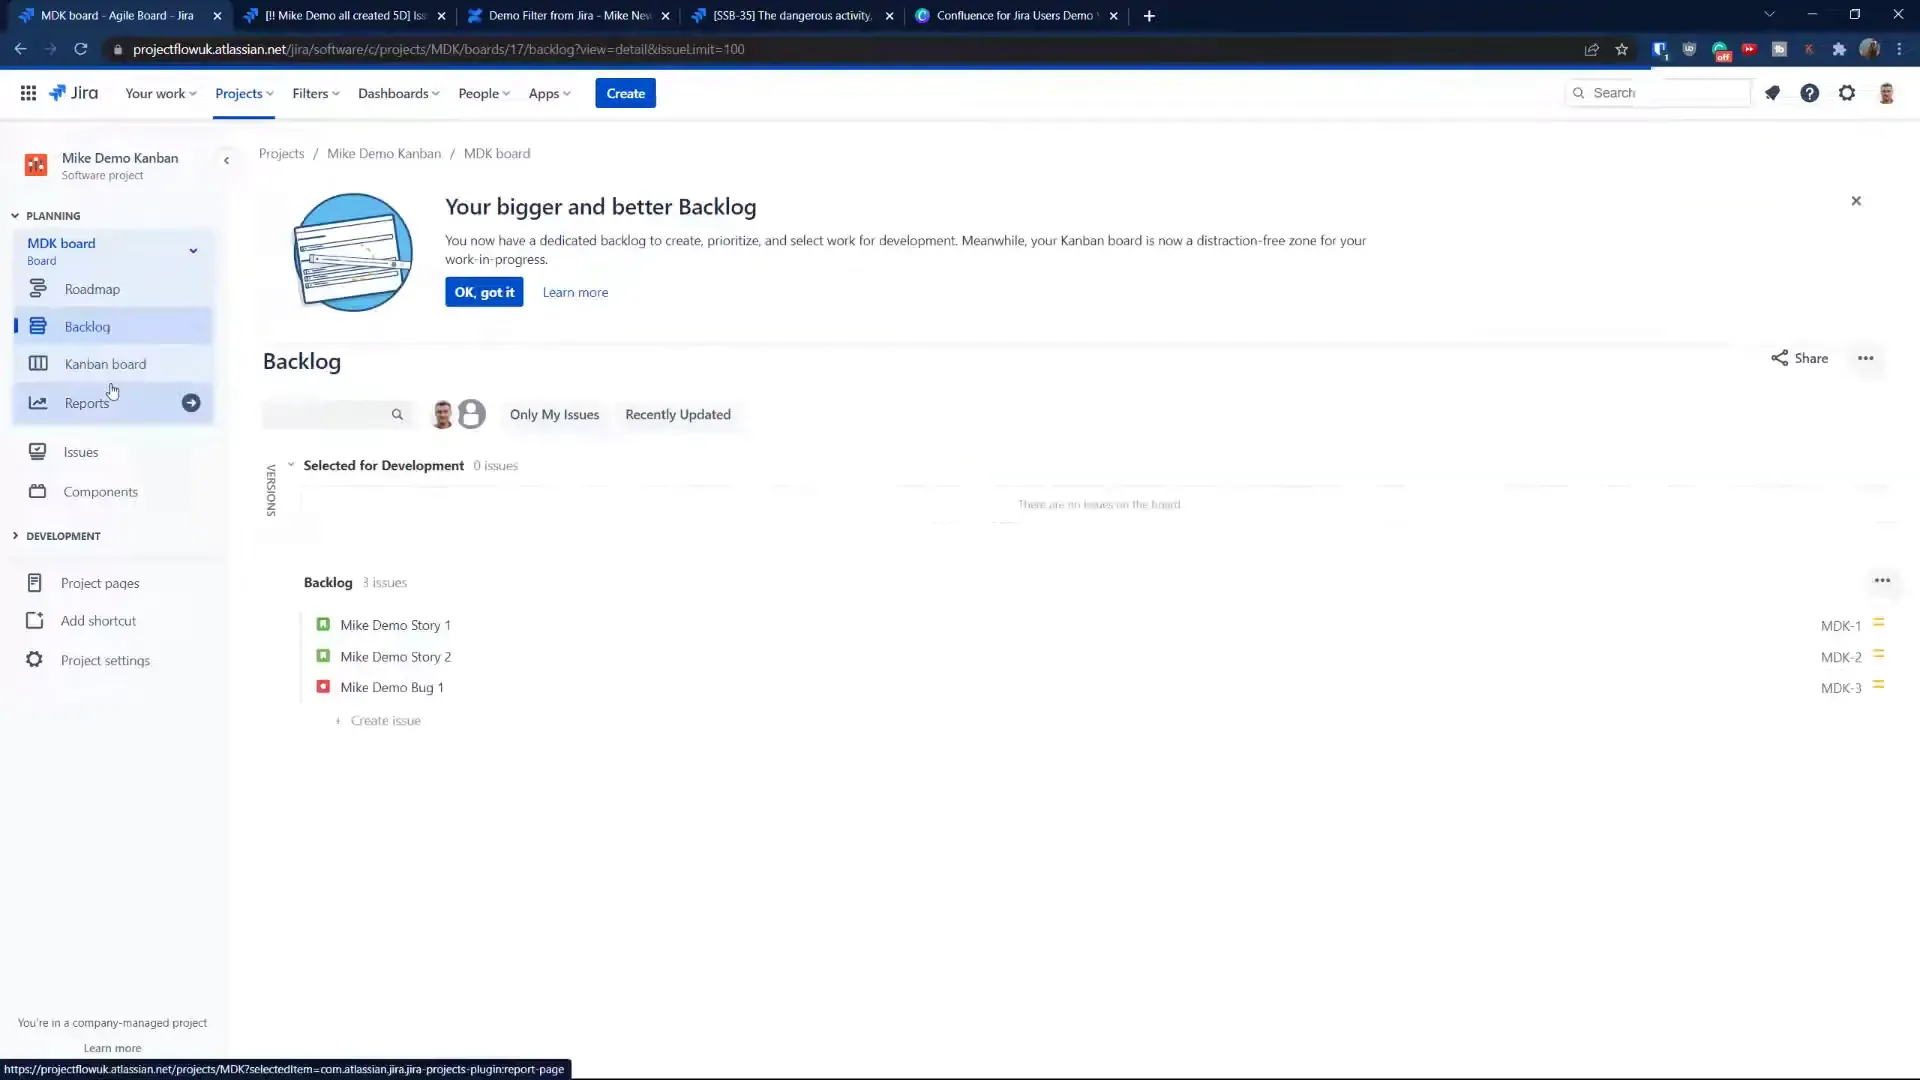
Separating Backlog from Your Board 🔍
If you prefer having a separate backlog menu on the left-hand side, you can easily adjust this in the board settings. Navigate to the board settings and drag the Kanban backlog to create a distinct section. This not only improves clarity but also enhances your workflow.
Understanding the Simplified Workflow 🔄
The simplified workflow is designed for ease of use, allowing you to drag issues across columns freely. This flexibility is particularly beneficial for Kanban projects where the focus is on continuous delivery rather than fixed sprints.
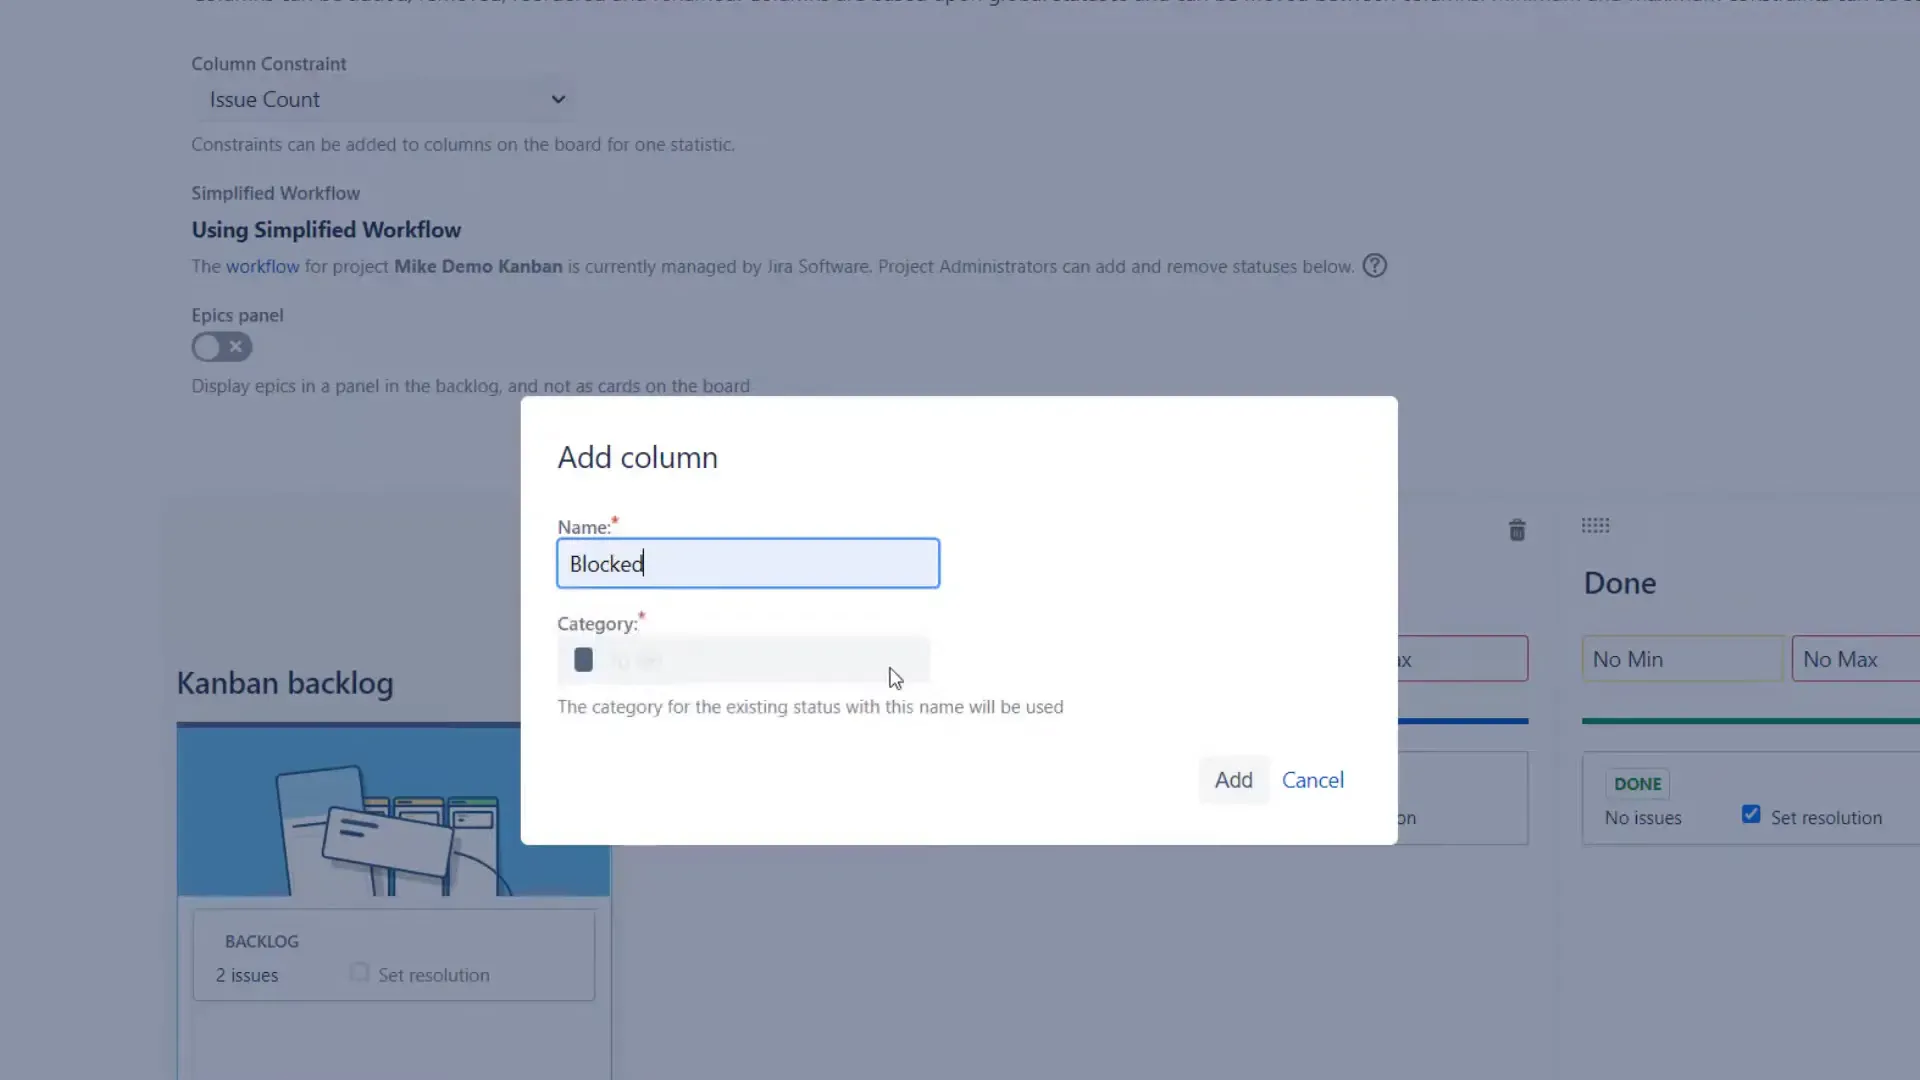
Adding Custom Statuses to Your Board 📝
Want to add a status like "Blocked"? Simply go to board settings, click on columns, and add a new status. You’ll find that Jira automatically adds the necessary status code for you, making this process seamless.
Common Issues and Troubleshooting ⚠️
During your setup, you might run into issues—like not being able to move tasks to the blocked status. A quick refresh of the page usually resolves this. Remember, troubleshooting is all part of the learning process!
Advanced Tips for Optimizing Your Kanban Board 💡
Stay tuned for upcoming tutorials where I’ll show you how to add card colors, quick filters, and swimlanes to further enhance your Kanban experience. Each of these features can help you visualize your workflow even better!
Frequently Asked Questions ❓
1. What is the main benefit of using Kanban in Jira?
Kanban helps visualize your workflow, limit work in progress, and maximize efficiency, allowing teams to manage tasks effectively.
2. Can I customize my Kanban board in Jira?
Absolutely! You can customize columns, add statuses, and even set up filters to tailor the board to your team's needs.
3. Is there a difference between team-managed and company-managed projects?
Yes, team-managed projects offer more flexibility and control for smaller teams, while company-managed projects provide standardized workflows for larger teams.
Ready to Dive Deeper? 📚
If you're looking for more resources, check out our Jira Training And Consulting for both free and paid options. You can also subscribe to our YouTube channel for more hands-on tutorials: Project Flow Academy - YouTube.
So there you have it! Your comprehensive guide to setting up your Jira Kanban project like a pro. If you have any questions or need further assistance, feel free to drop a comment below. Happy Kanban-ing!